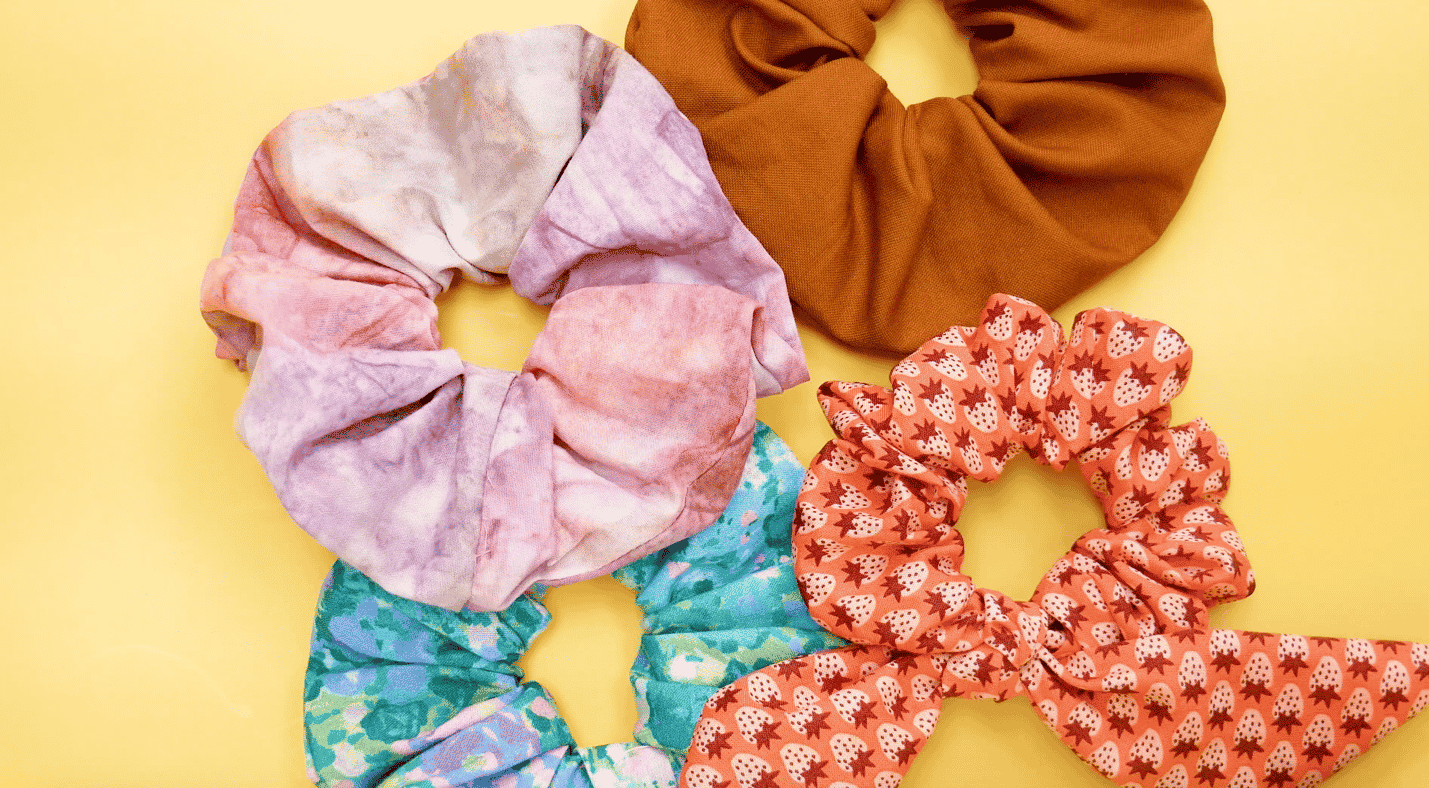
With spring just around the corner what better way to bring some color back into your wardrobe than a useful accessory like a scrunchie! This project is so quick and easy that we’ve got three different ways to make a scrunchie for all tastes and styles.
Download your free printable PDF pattern here: https://bit.ly/3vc4Q0Z
You can follow along with the tutorial in our blog, or you can sew along with us when you watch our YouTube video!
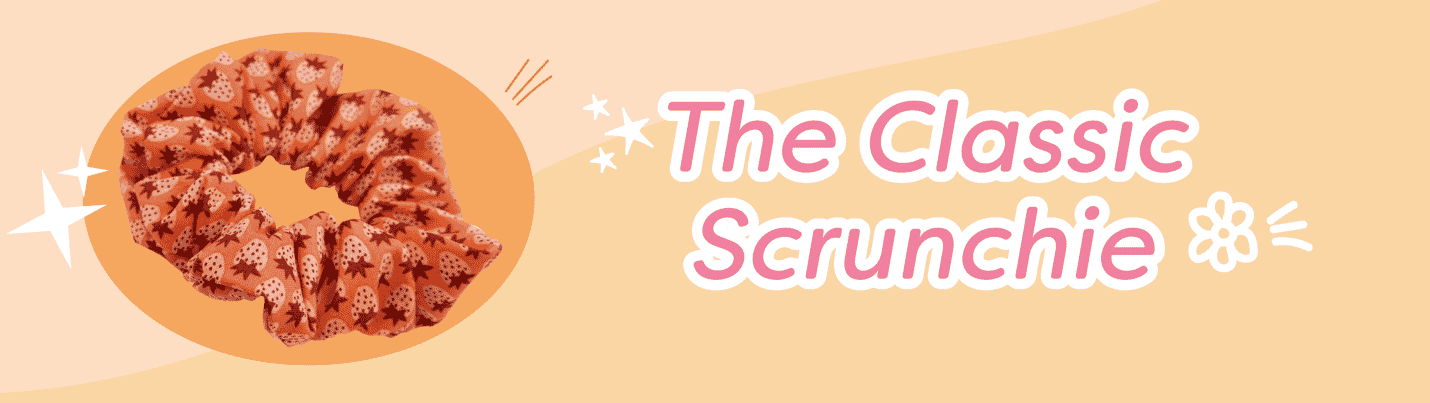
The Classic Scrunchie
This style of scrunchie is near and dear to accessory lovers’ hearts. Small enough for those of us with thinner hair, shorter hair, or who want your bun or ponytail to be the star it’s the perfect style solution. Let’s talk about what you need first.
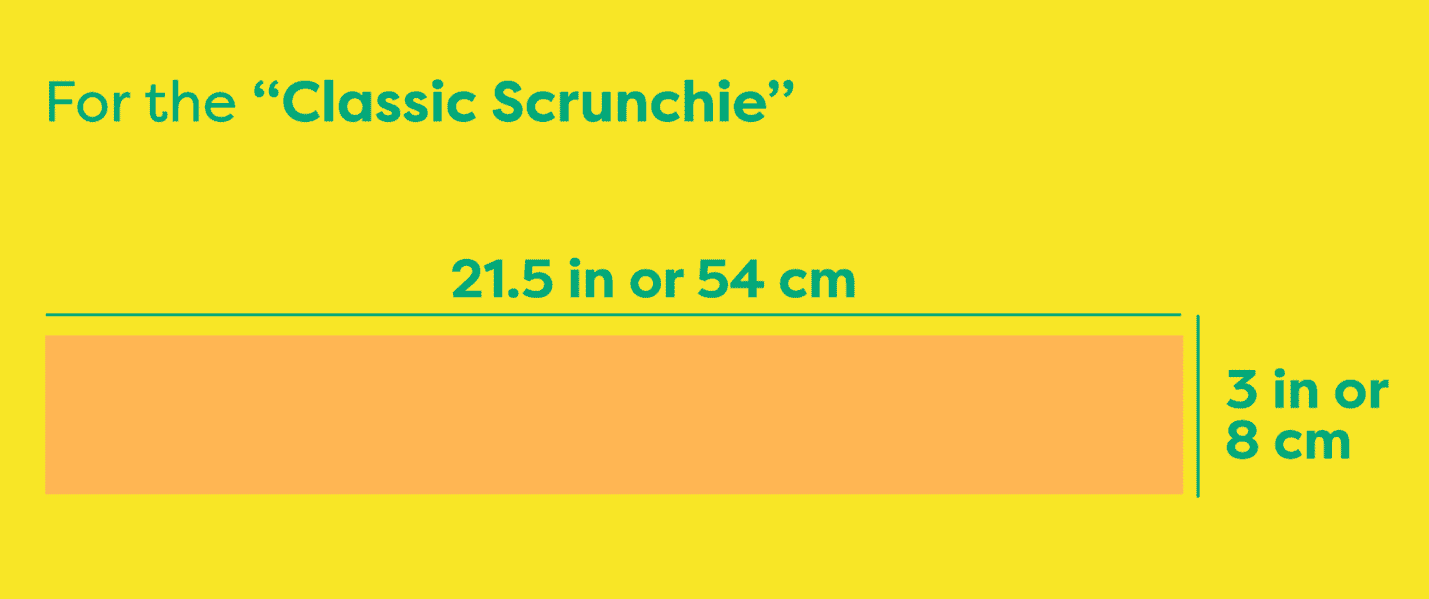
You’re going to need to pick out your favorite fabric. For the classic scrunchie, cut long rectangular strips at inch 21.5” x 3”, or 54 cm x 8 cm and that’s it!
You can find beautiful and bright fabric at a craft store near you, or you can check out fabric from Alison Glass, her patterns and solid colors are perfect for this spring accessory! https://alisonglass.com/product-category/shop-materials/fabric-bundles/
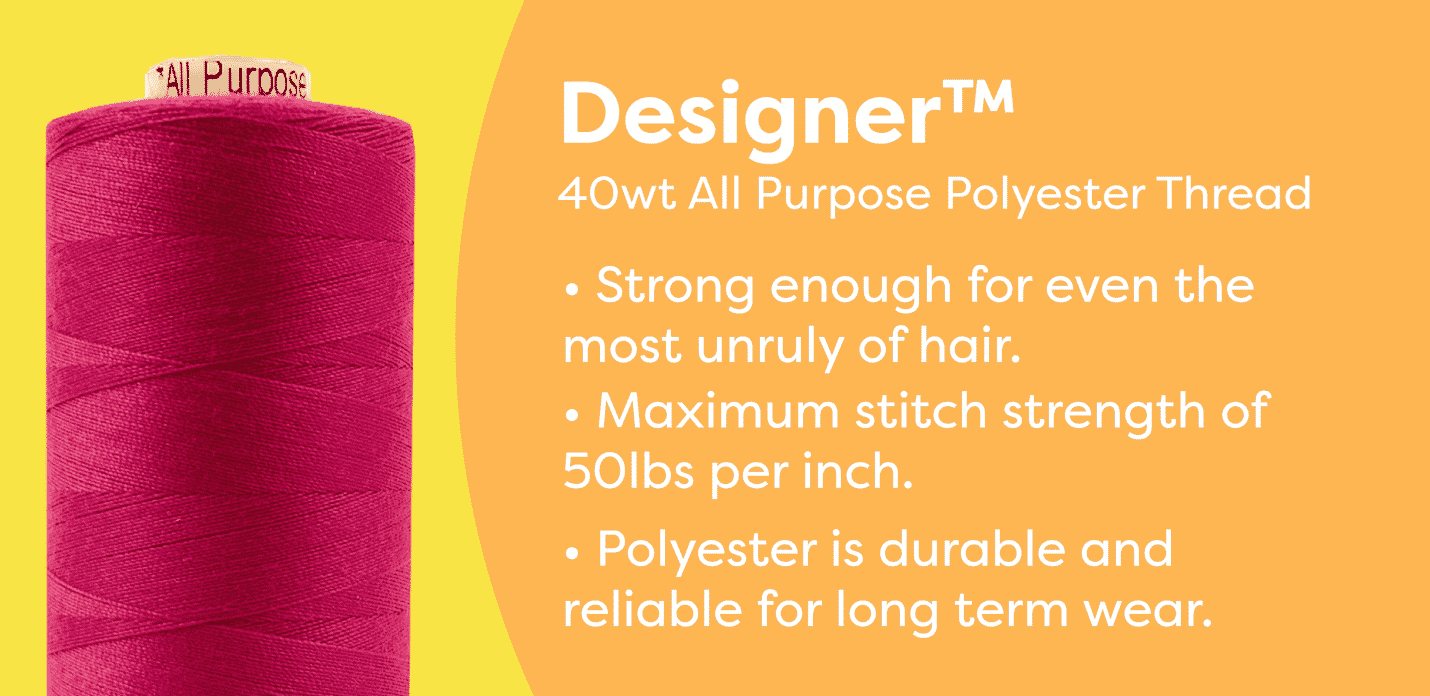
We’re going to be sewing with our 40wt all-purpose polyester thread called Designer™. It’s the perfect option for a scrunchie because it’s durable enough to last in even the most unruly hair types. With a maximum stitch strength of 50lbs per inch, there’s no way those seams will break! Because it’s polyester, durable and reliable, it’ll last through the wash time and time again.
You can find Designer™ here
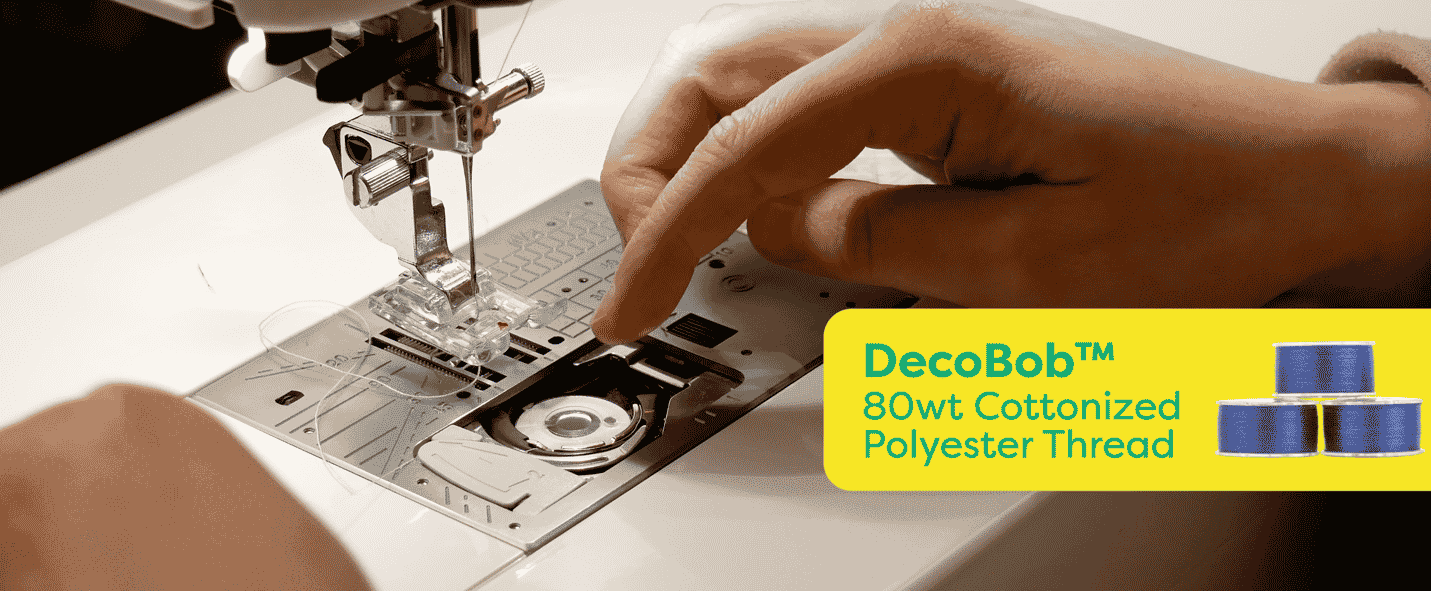
We’re going to use DecoBob™ in our bobbin. DecoBob™ is an 80wt Cottonized Polyester as it will match the durability of Designer™ without adding any additional bulk to the seams.
You can find DecoBob™ prewound bobbins here
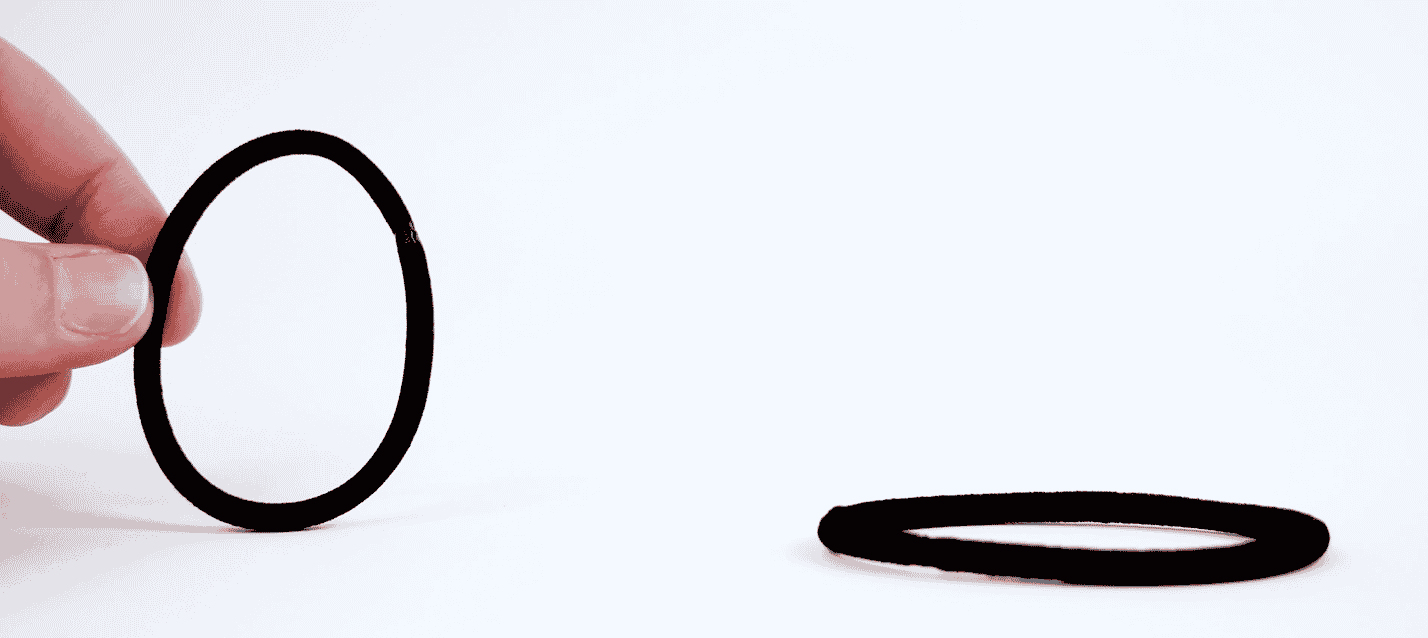
Next, you’ll need a hair elastic! Nothing fancy, just a regular old hair elastic. We prefer to use these over sewing elastic because they tend to hold your hairstyle in longer.
You can find hair elastics at your local drug store, but if you want to use the same ones we used you can find them online here: https://amzn.to/30tayNF
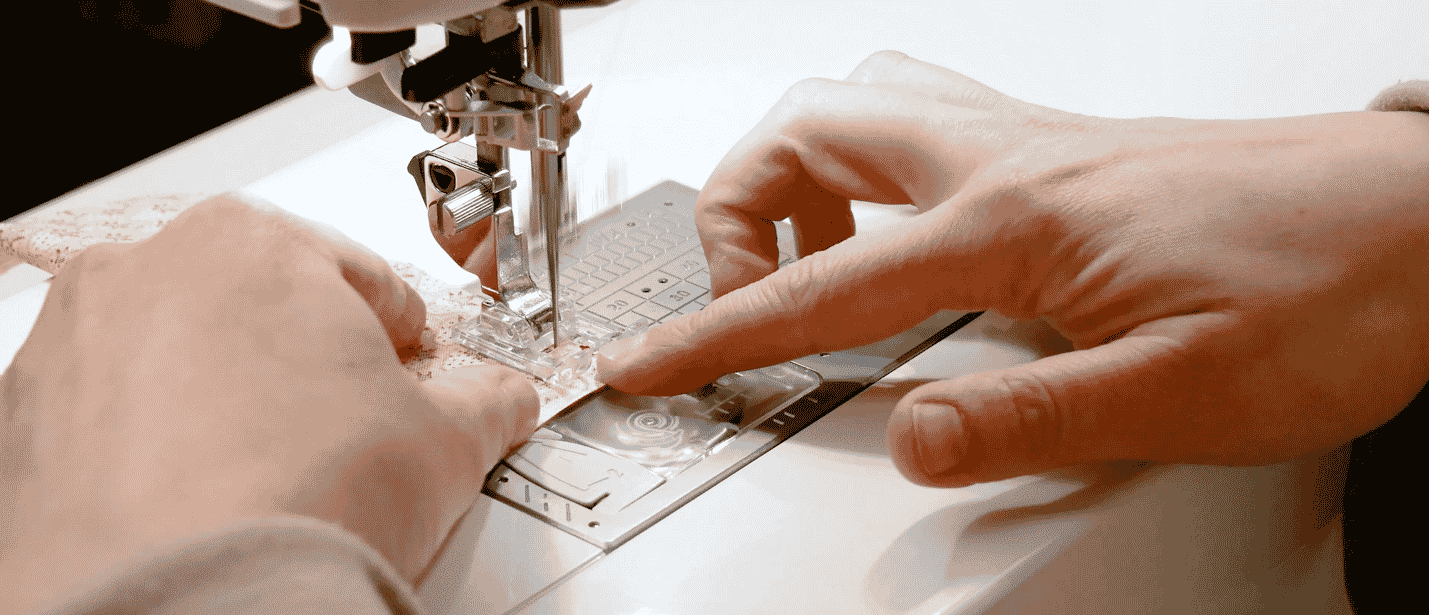
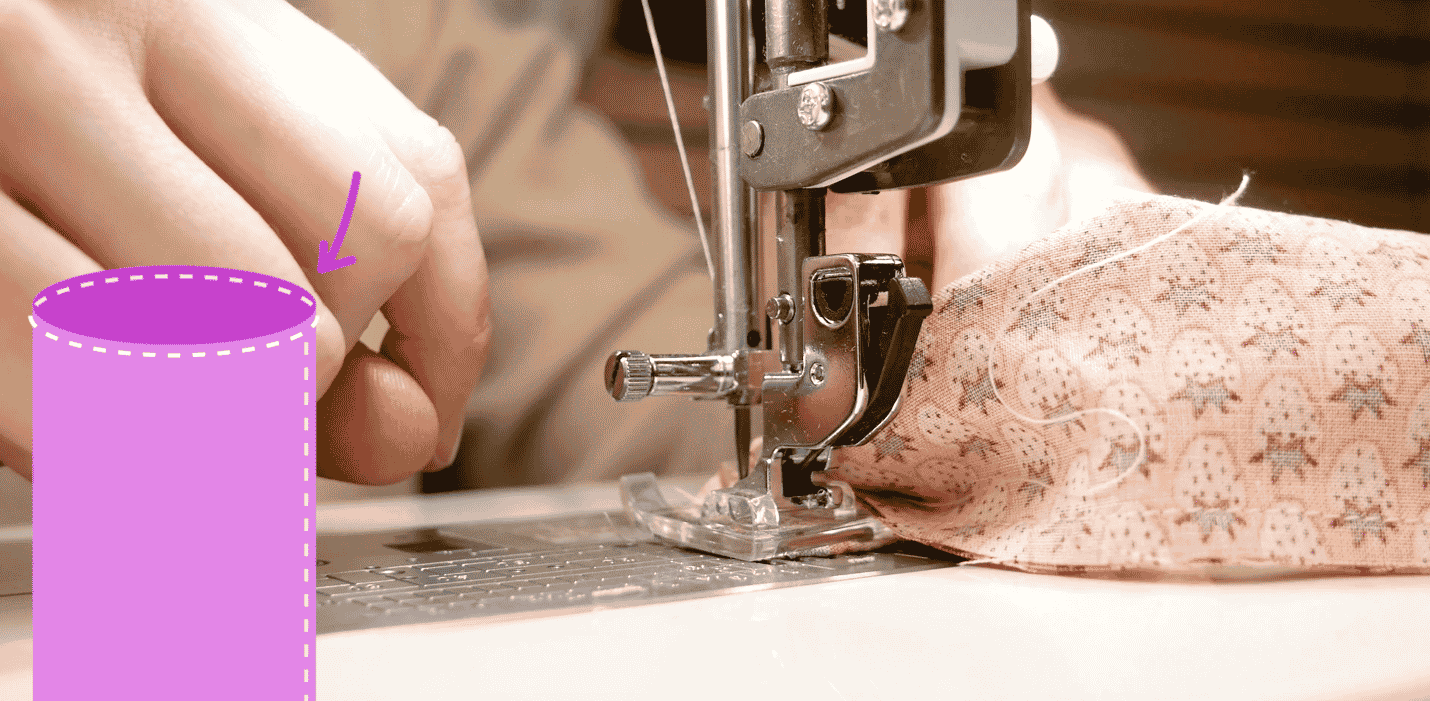
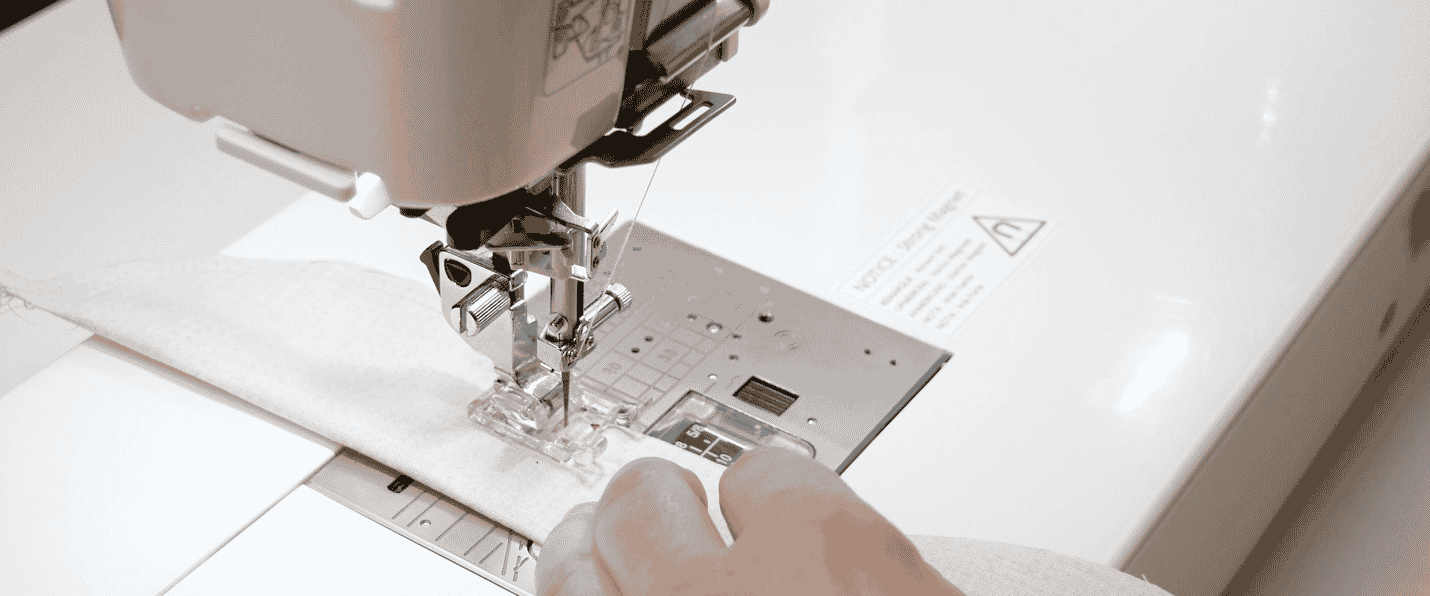
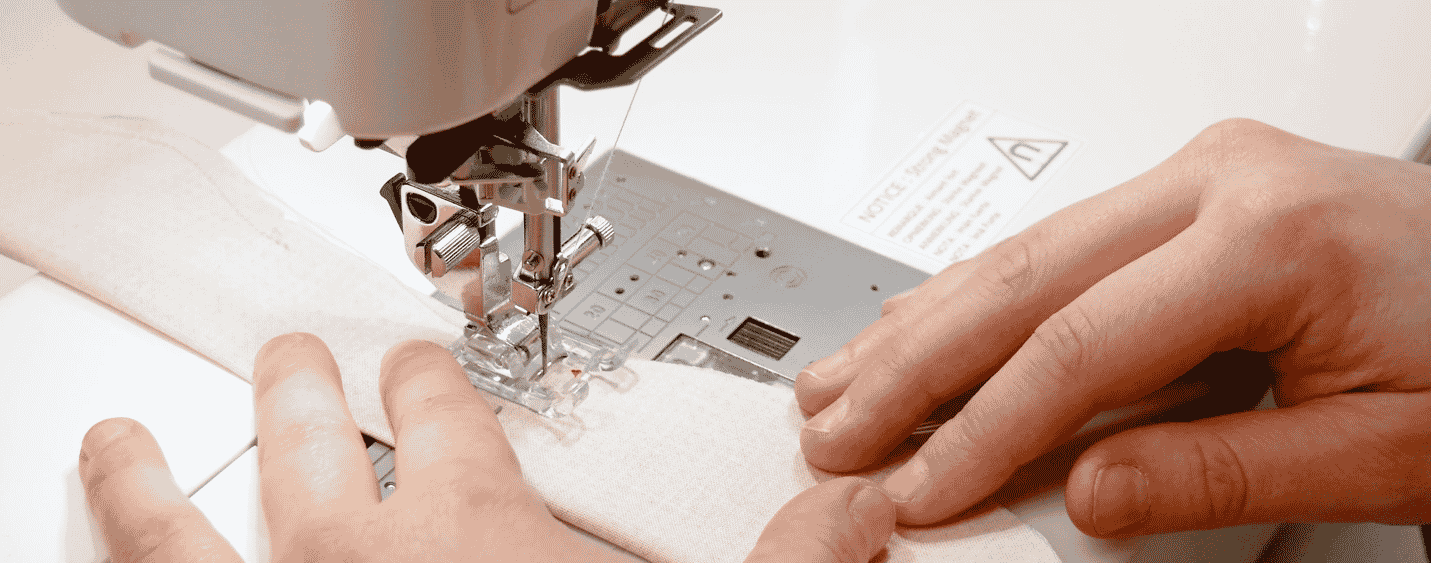
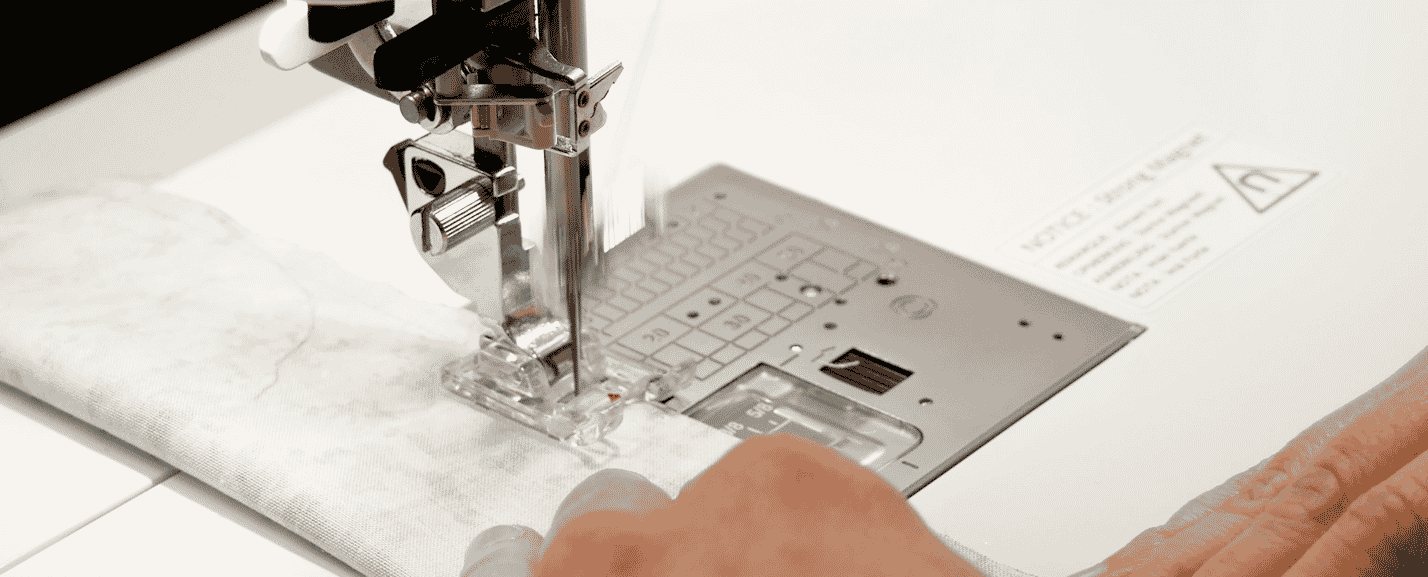
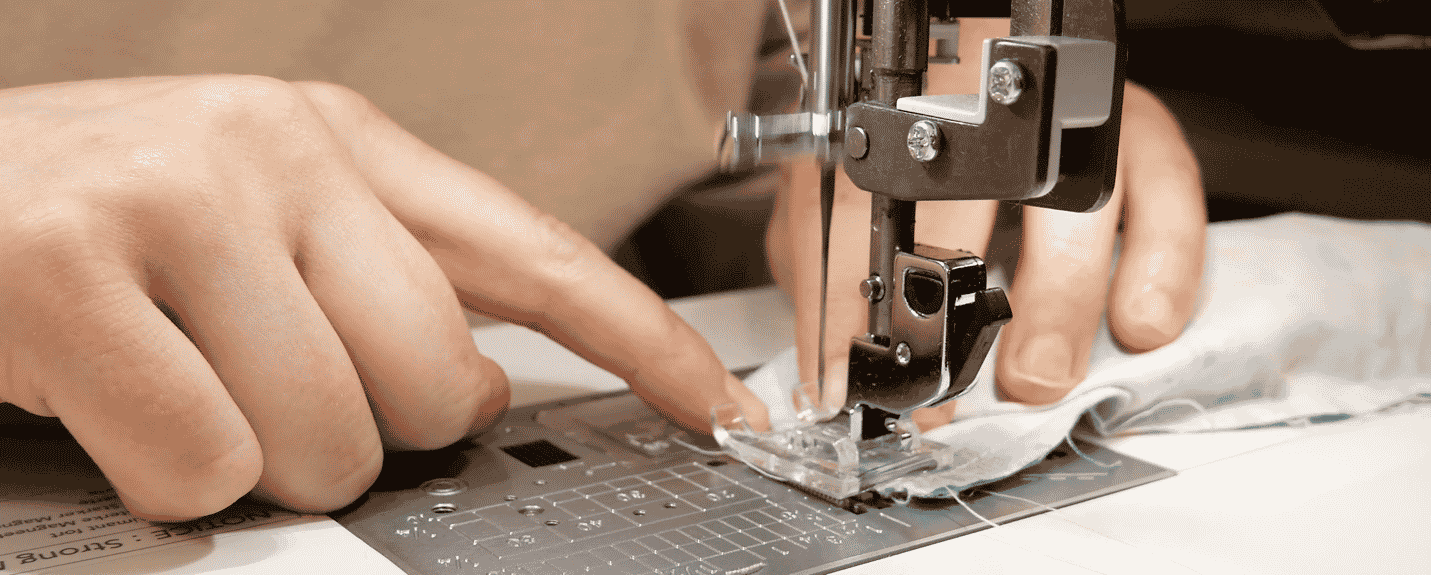
Let’s get to crafting up your new favorite scrunchie. Fold your rectangle in half, right sides together, and sew along the long edge using a 1/4 inch seam allowance.
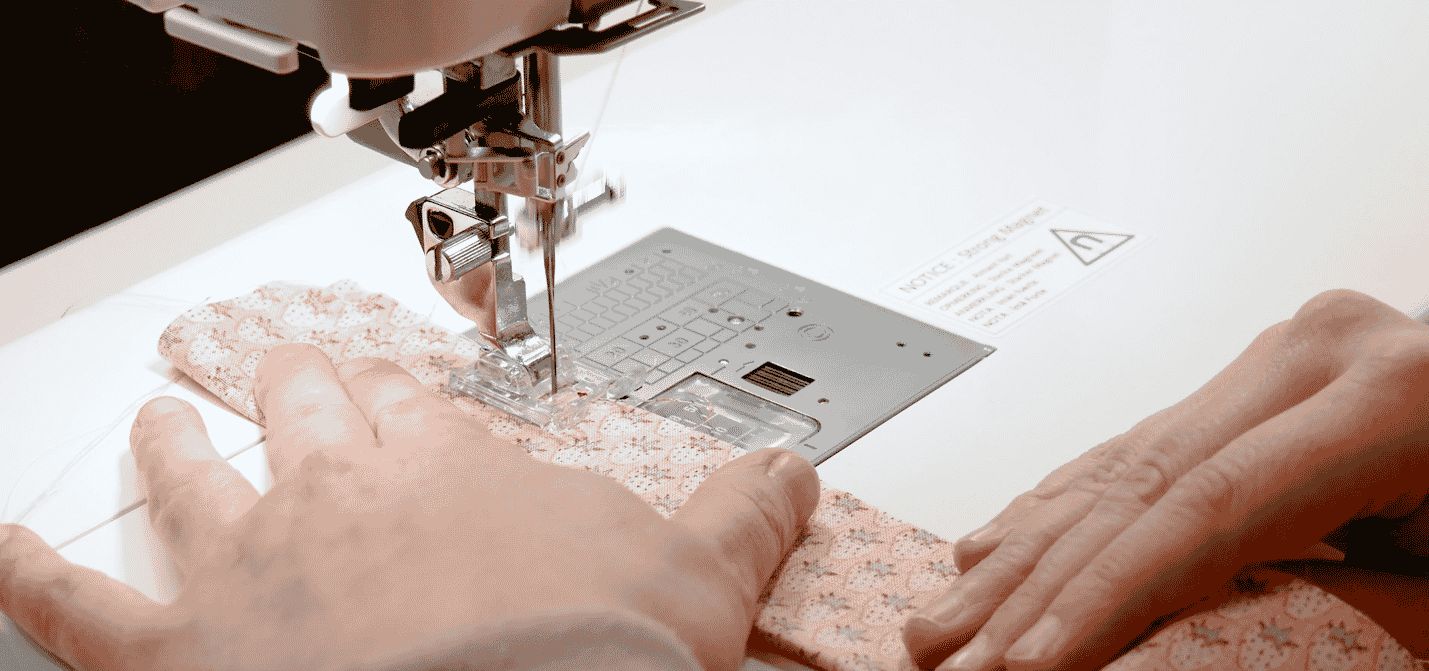
Halfway down backstitch and leave a 1.5-inch gap to turn it right side out later. Start sewing, remembering to backstitch, 1.5 inches or 4 cm away from where you left off. Sew to the end, backstitching at the edge, and snip your thread.
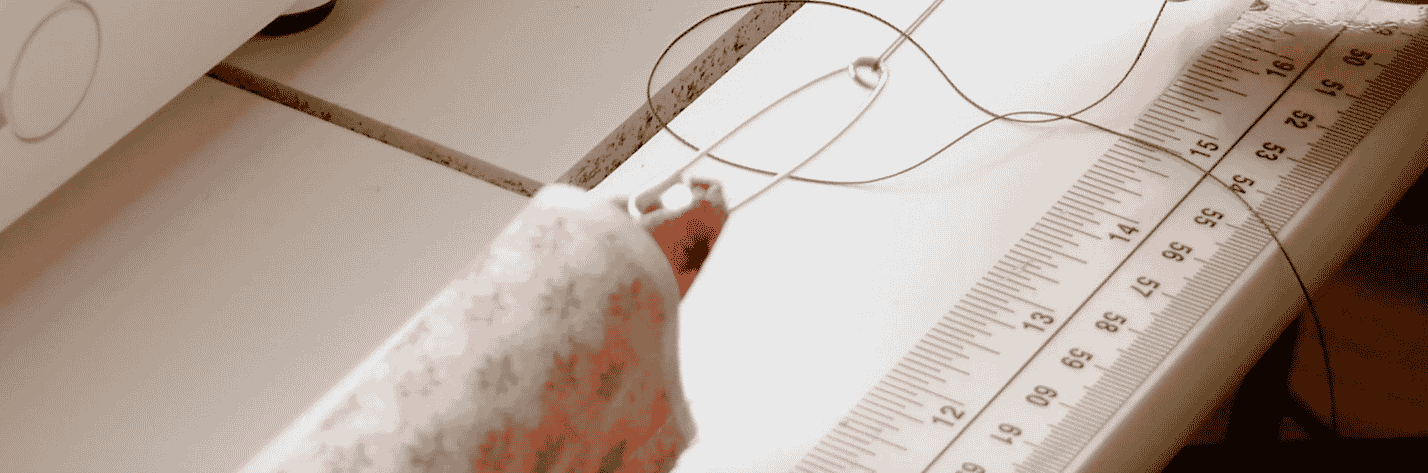
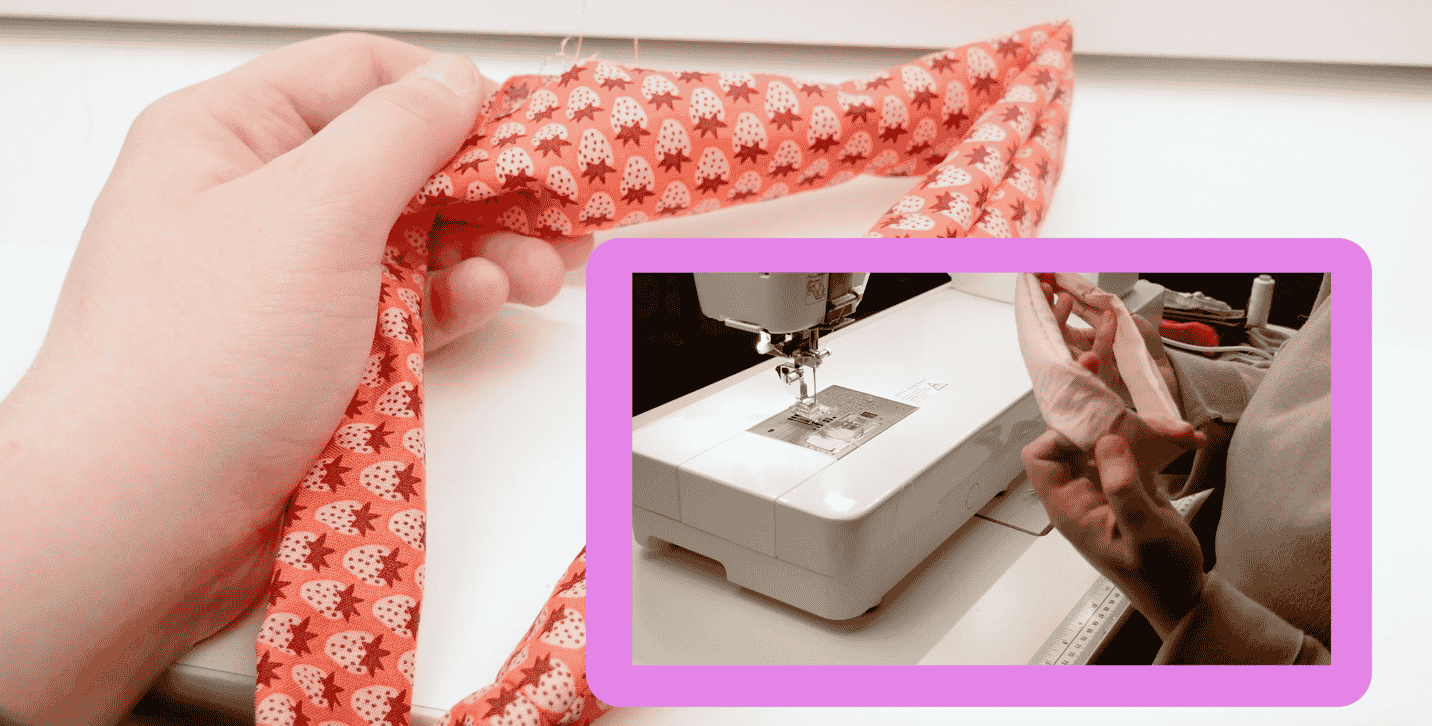
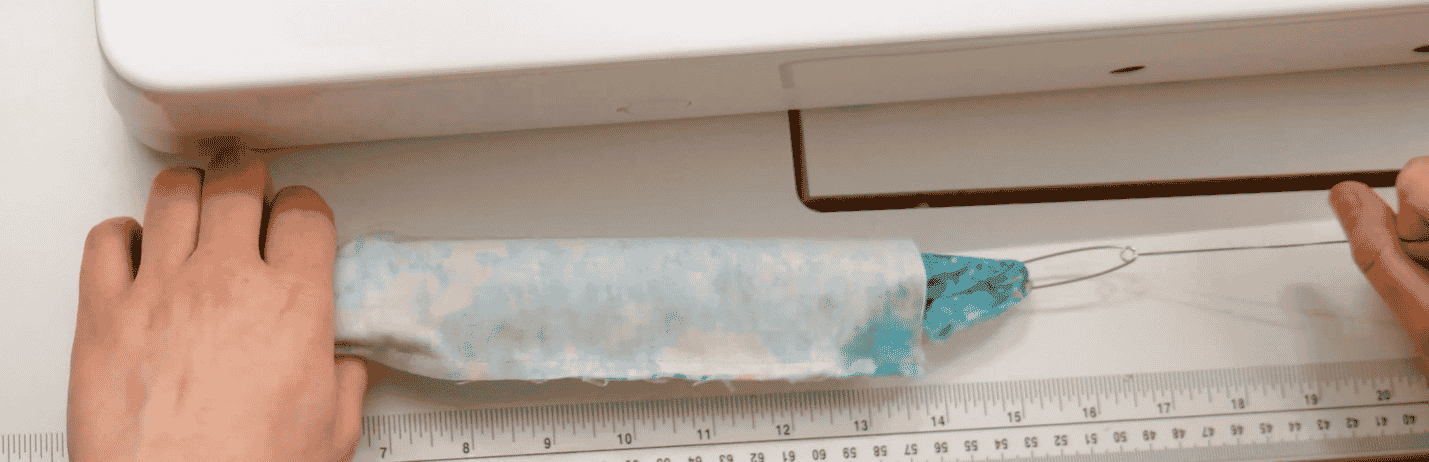
Slide a safety pin and tied to some extra thread through the middle of your fabric tube.

Once it peeks out the other side attach the safety pin to the end of your tube and pull it through the middle of the tube bringing the fabric with you so that the ends meet up right sides together. Your fabric tube should have shrunk to half its original size.
Going slowly, stitch the ends together. Because this will be a small and tight area to get into, take your time and make sure the fabric is aligning properly so you don’t have any messy, bumpy, or missed stitches along your seam.
Once that’s finished you can turn your fabric right side out and get ready to assemble your scrunchie!
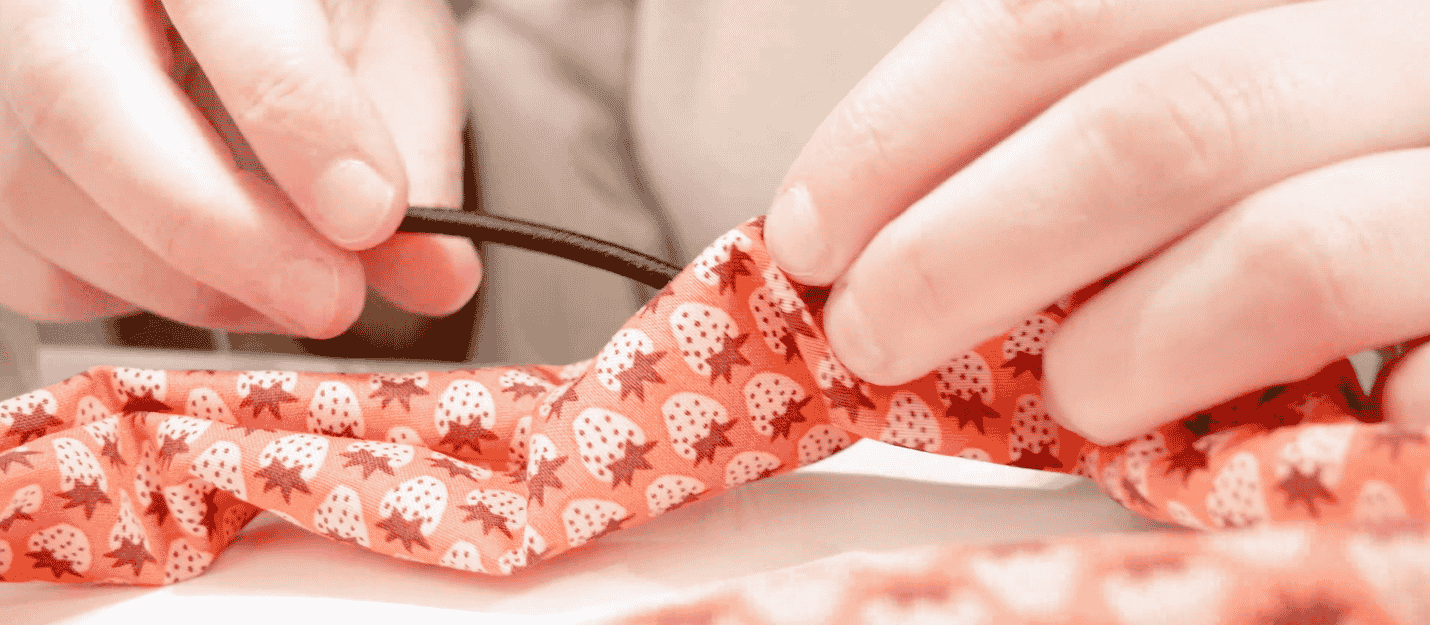
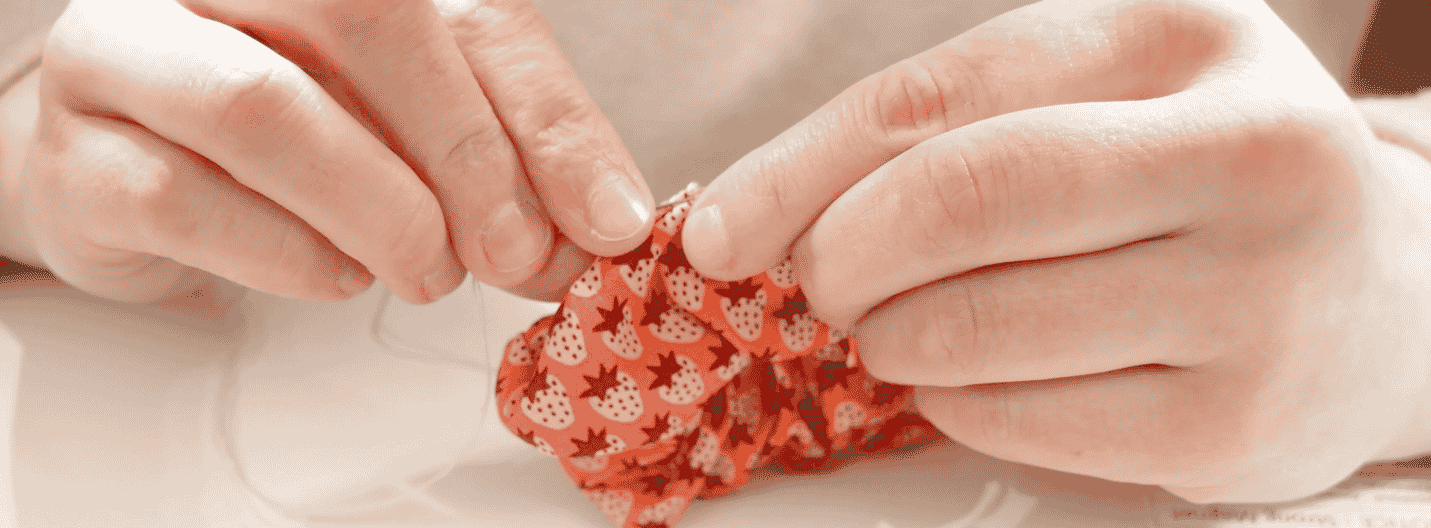
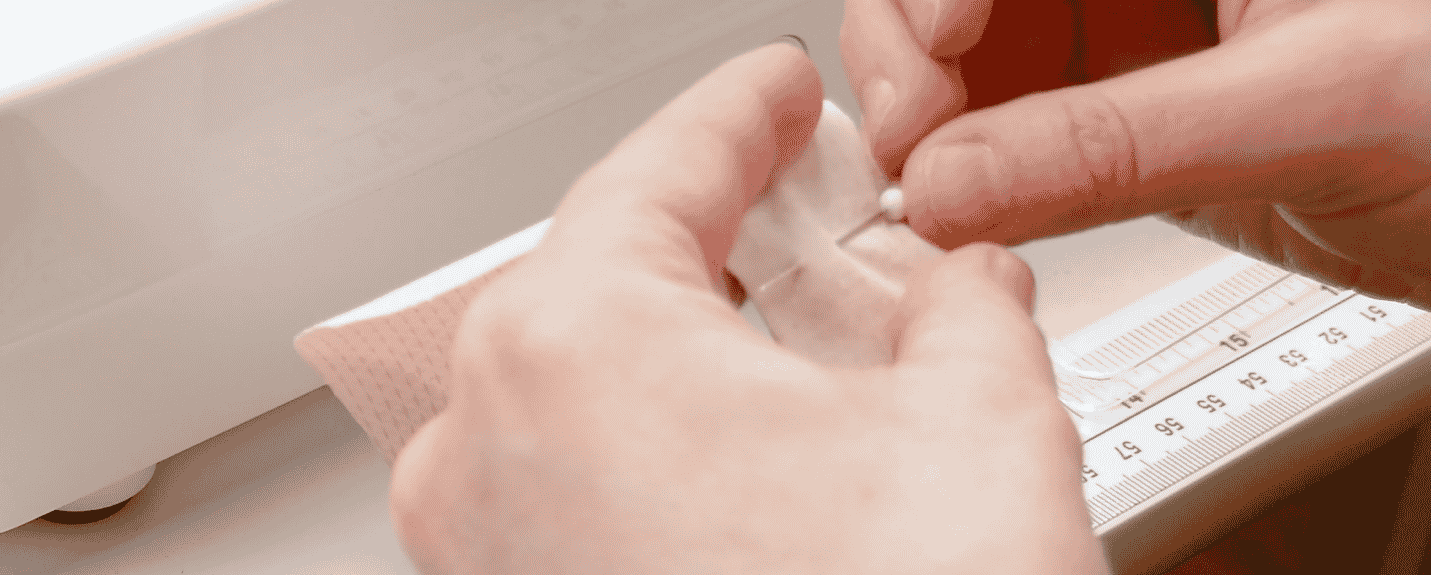
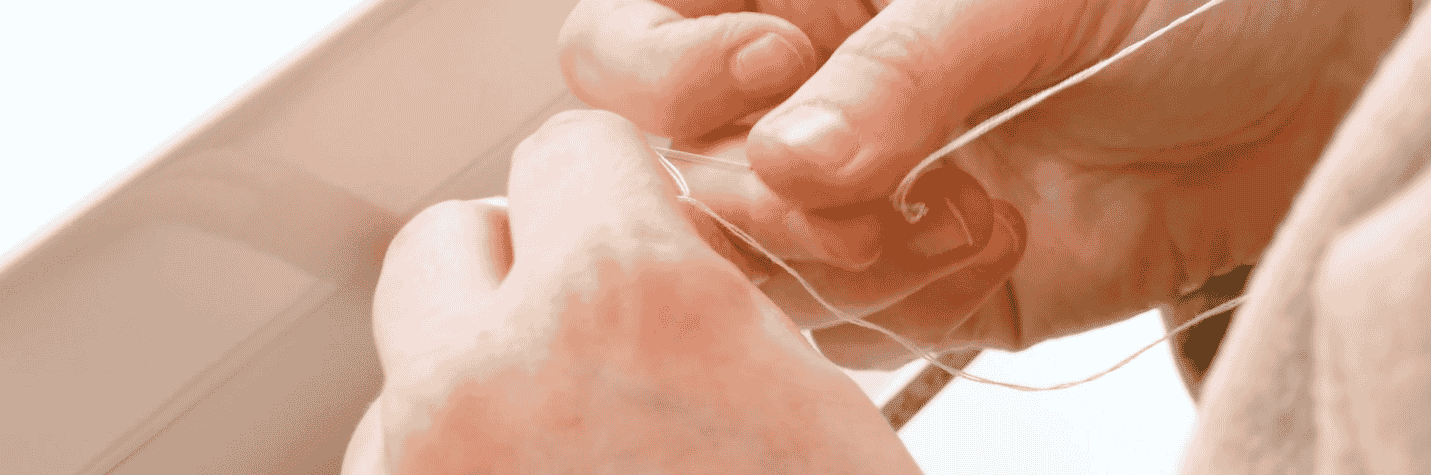
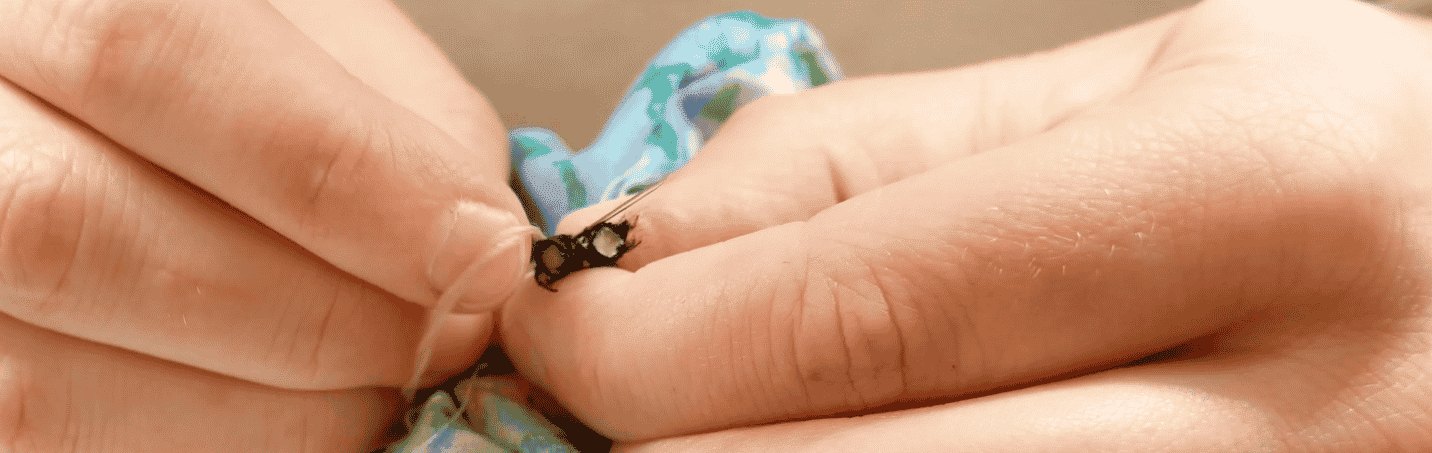
Snip your hair elastic in half, attaching a safety pin to one end, run the elastic through the scrunchie fabric, making sure to hold onto the other end so it doesn’t get lost in the fabric.
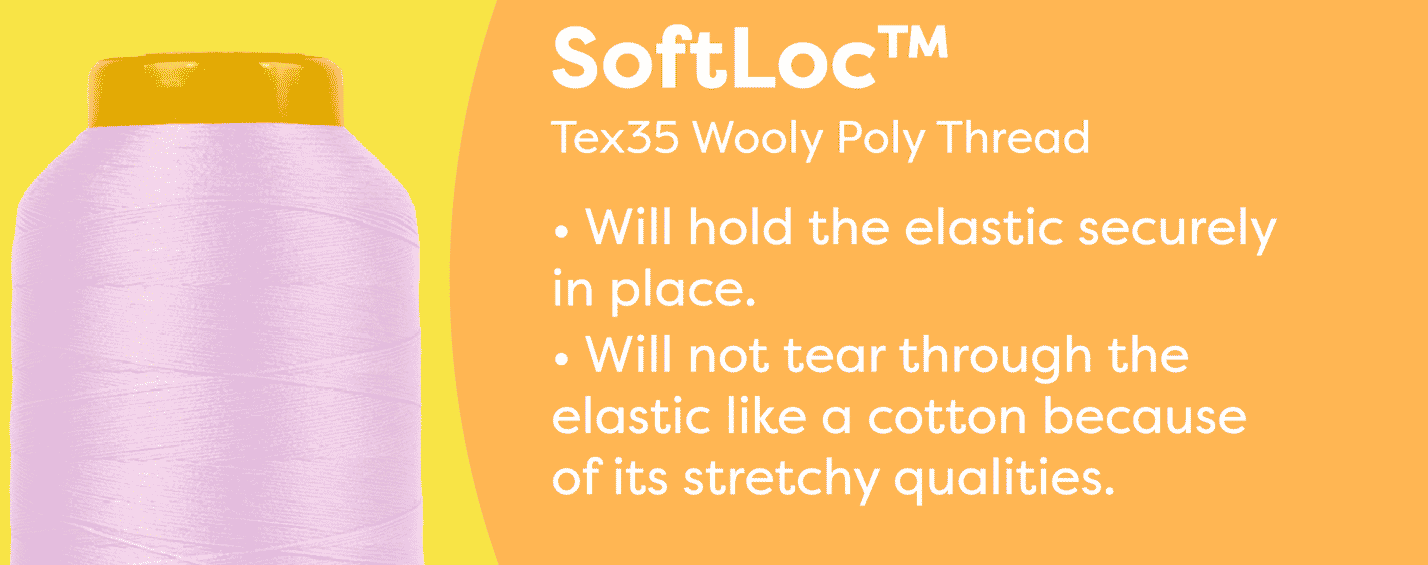
Now using a hand needle and SoftLoc™, a Tex35 wooly poly thread, stitch back and forth through the elastic going all the way around so that it’s secure and sure not to come apart.
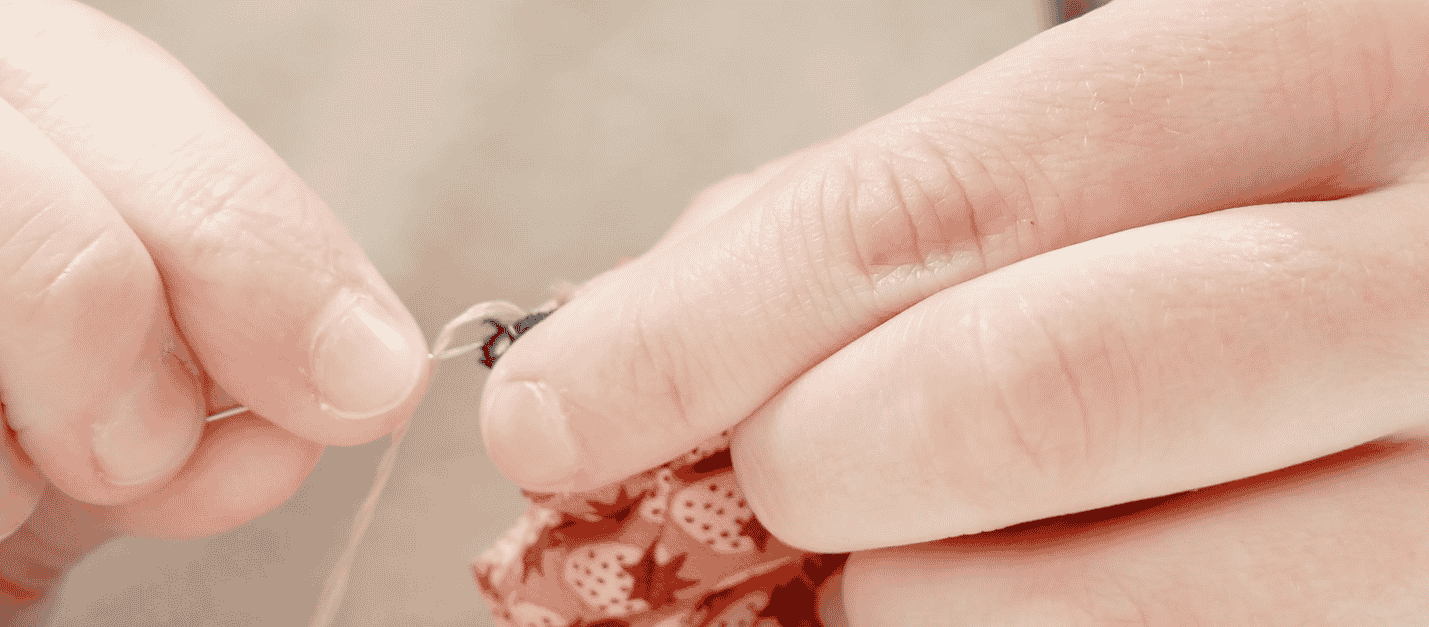
SoftLoc™ is the perfect thread for this because it’s strong enough to hold the elastic together and because it’s got a lot of stretch it’s perfect for moving with the elastic and holding it together, and won’t tear the elastic when it’s being pulled on.
You can find SoftLoc™ online here
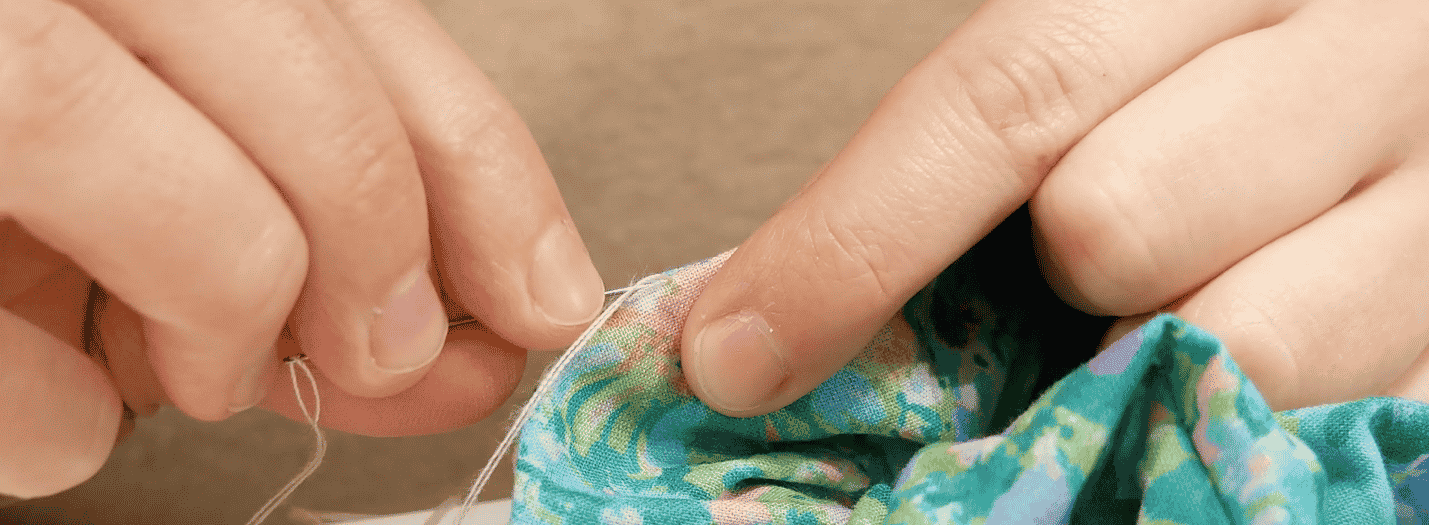
Using Designer™ again and using an invisible stitch, pull the needle through the wrong side of the fabric to hide the knot, and carefully hand stitch the opening. Tie off the thread at the end, and snip the thread close to the knot to hide it. Now your scrunchie is finished!
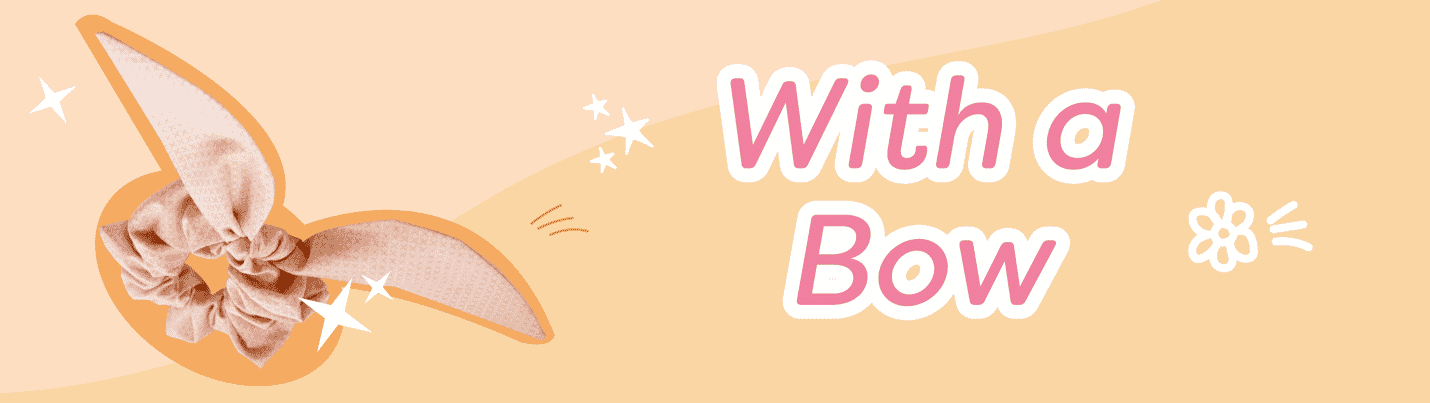
Scrunchie with a Bow
The best part about scrunchies is that the body of the scrunchie will always use the same steps with just slightly different sizes of fabric! For the scrunchie with a bow, you can simply tie the bow on for a little extra flair and take it off if you’re looking for a more simple look.
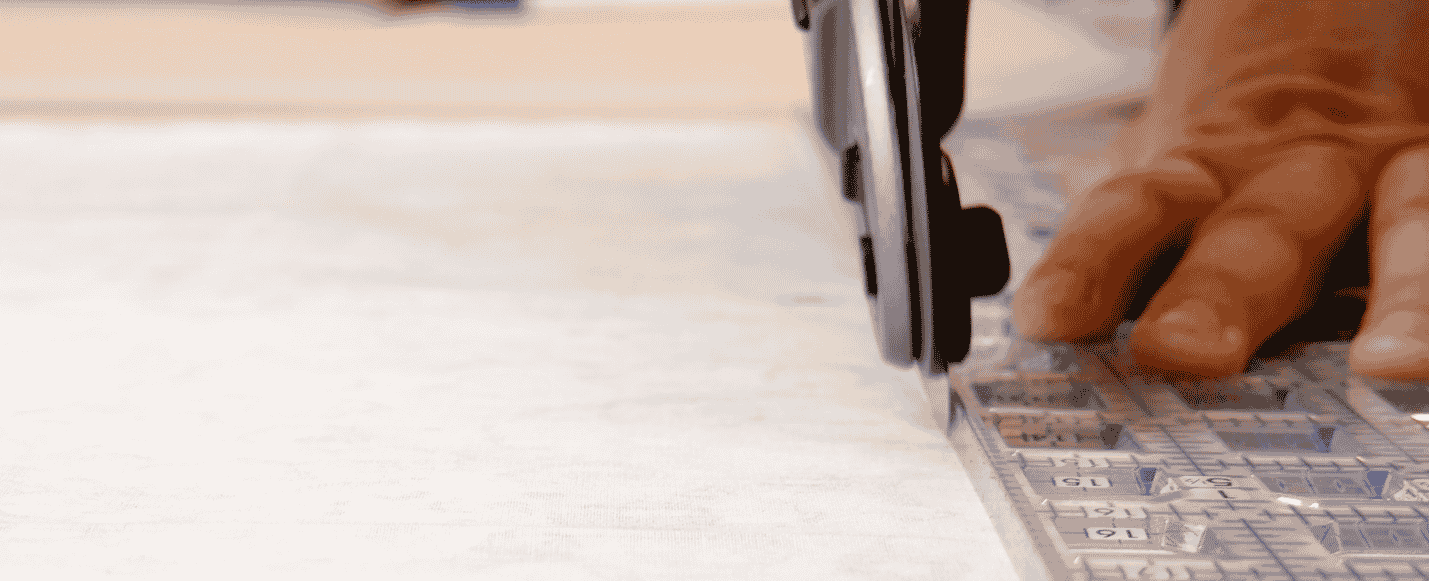
To make the bow, use the free pattern: https://bit.ly/3vc4Q0Z ! Trace the pattern onto your fabric using chalk or a fabric marker or pin it down to your fabric. Carefully cut out the pattern.
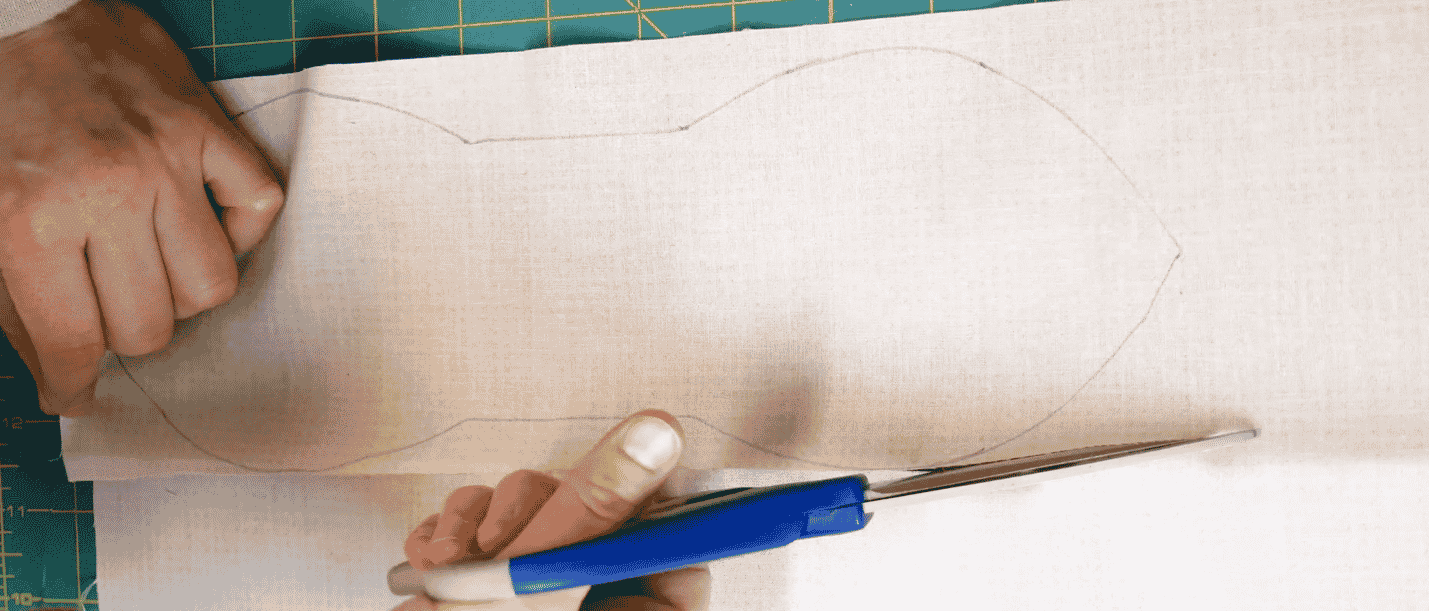
Fold the fabric in half longways, right sides together, and pin it at the point where the curve stops right before the straight middle edge. This will mark your stop point to leave a 1.5” or 4 cm gap to turn it out.
Sew along the edge of the fabric with a ¼” seam allowance making sure to backstitch at the beginning and end of your stitches. As we mentioned, stop sewing where you left your pins, backstitch, and trim your thread.
Pick up sewing at your second pin, backstitching, and going all the way to the other edge.
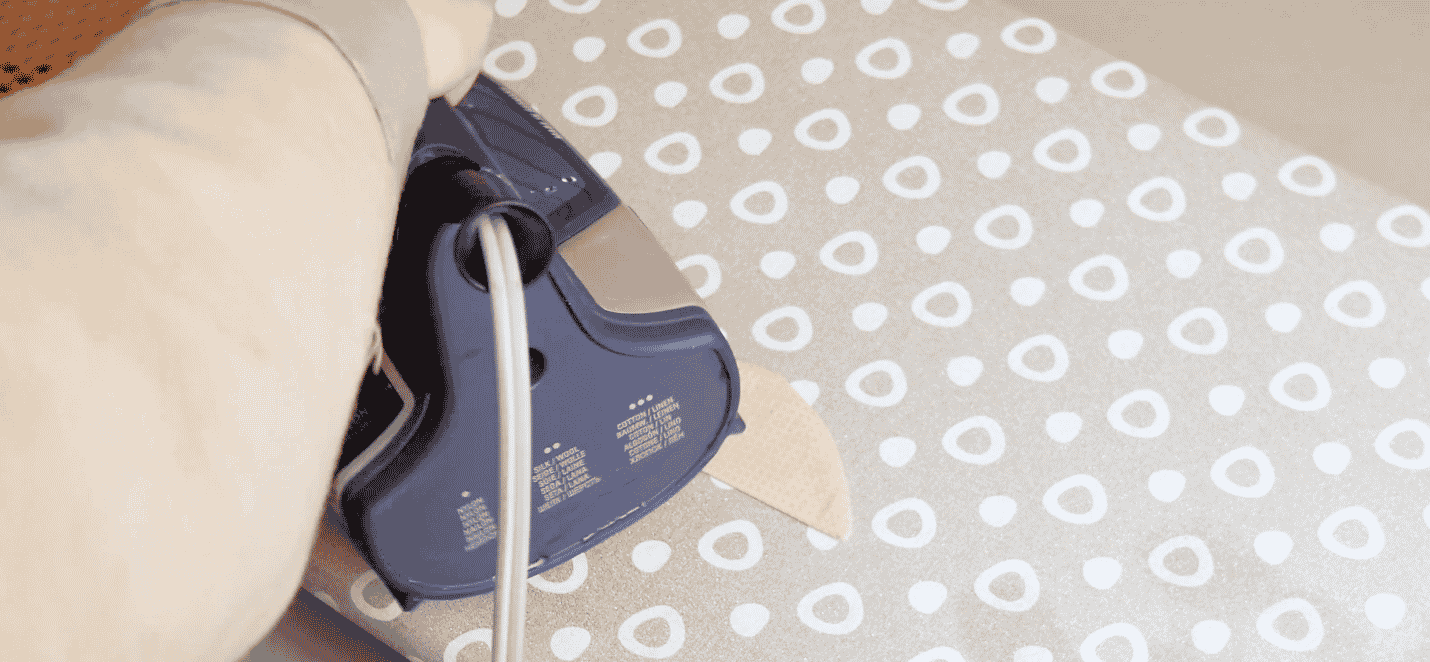
Turn your bow right sides out, give it a quick press and use a ladder or invisible stitch with Designer™ to close the gap you left.
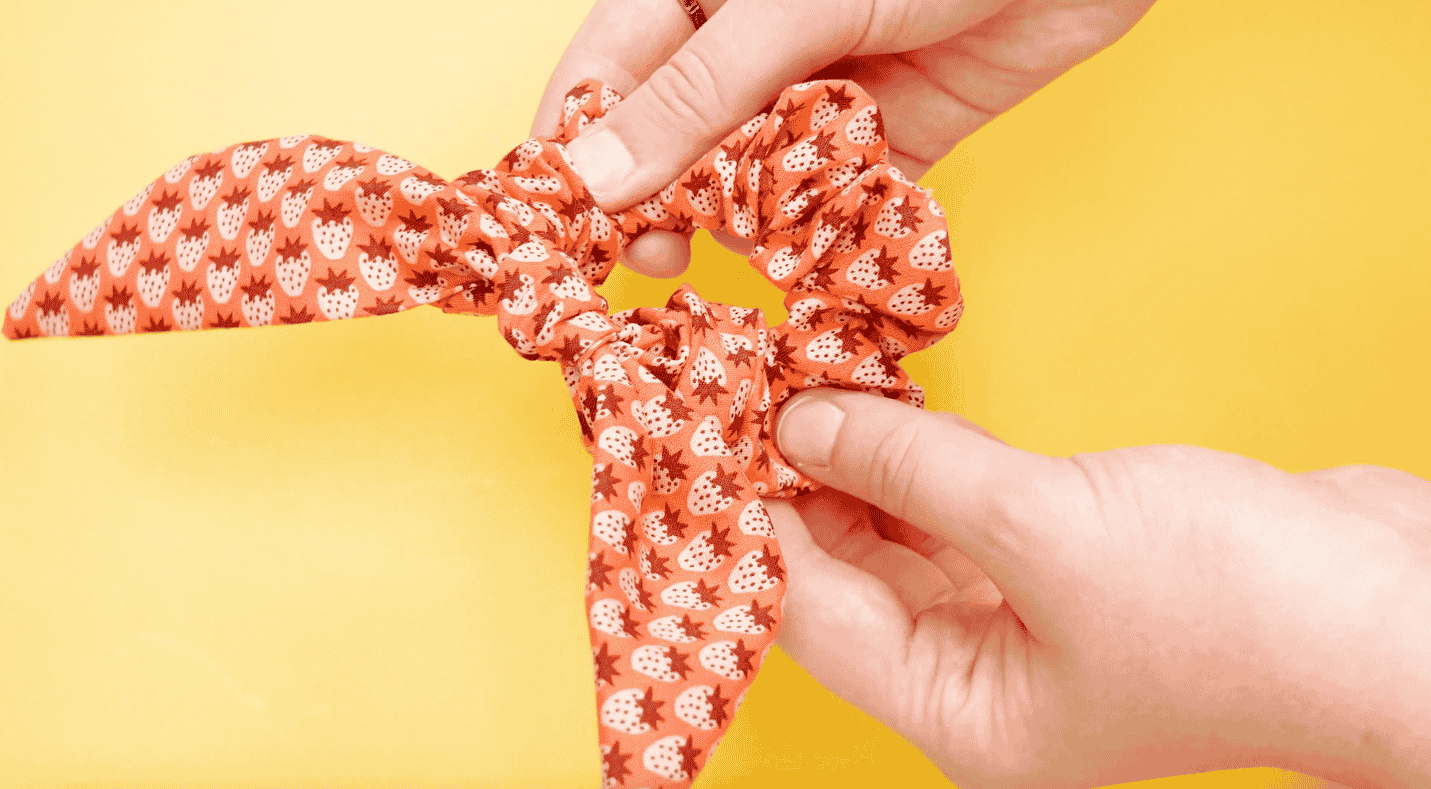
Press again to give the seams a nice crisp edge. Now you can tie your bow to your scrunchie!
Move some of the bunched fabric of your scrunchie so that you don’t catch too much when you tie on your bow.
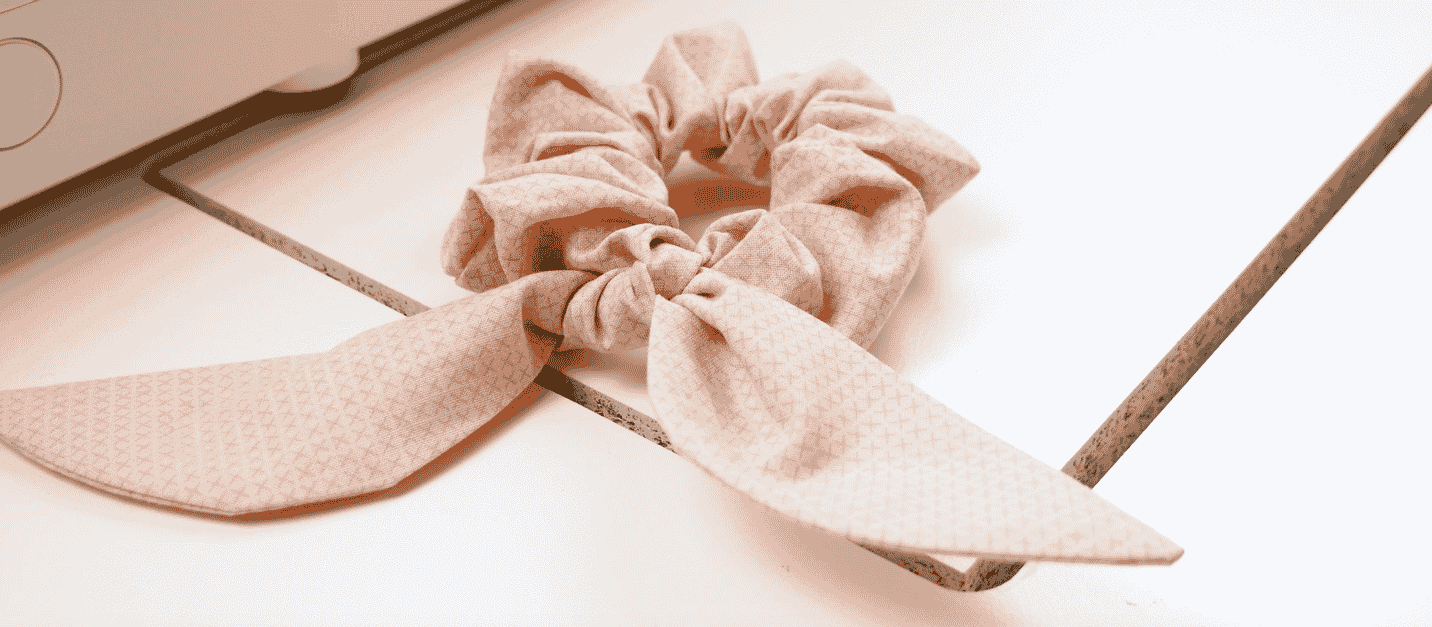
Tie a regular knot but go slow so you get that nice smooth front on your knot. Bring the material you pushed aside earlier back around the knot and there you have it, a wonderful little statement accessory!
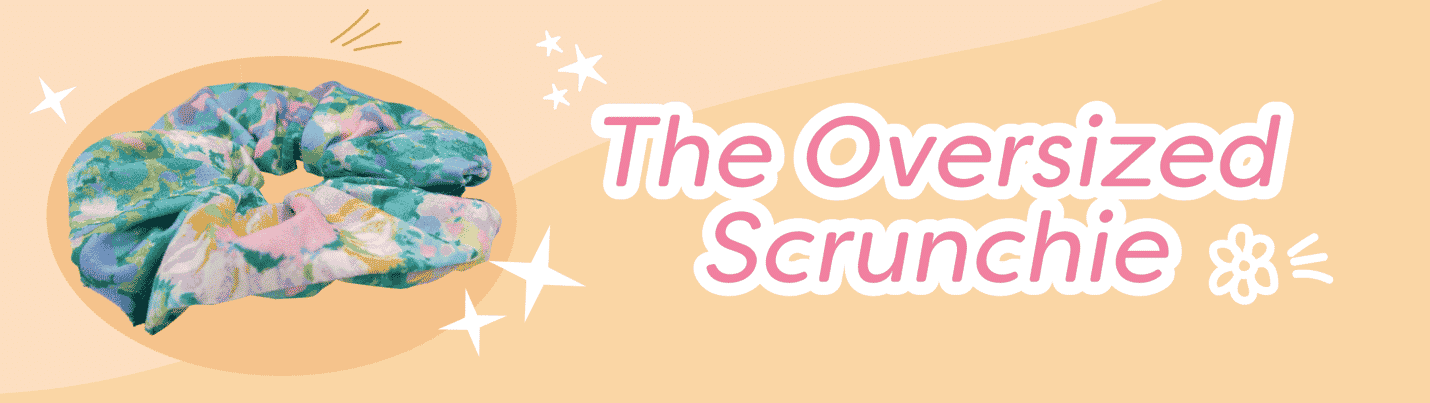
The Oversized Scrunchie.
This scrunchie style has taken the internet by storm! It’s a great statement accessory for those times when you need a little extra, but don’t want to drown in too many accessories. For the oversized scrunchie, you’ll be using the same instructions as your regular scrunchie and just adjusting the size of the fabric rectangle you cut out!
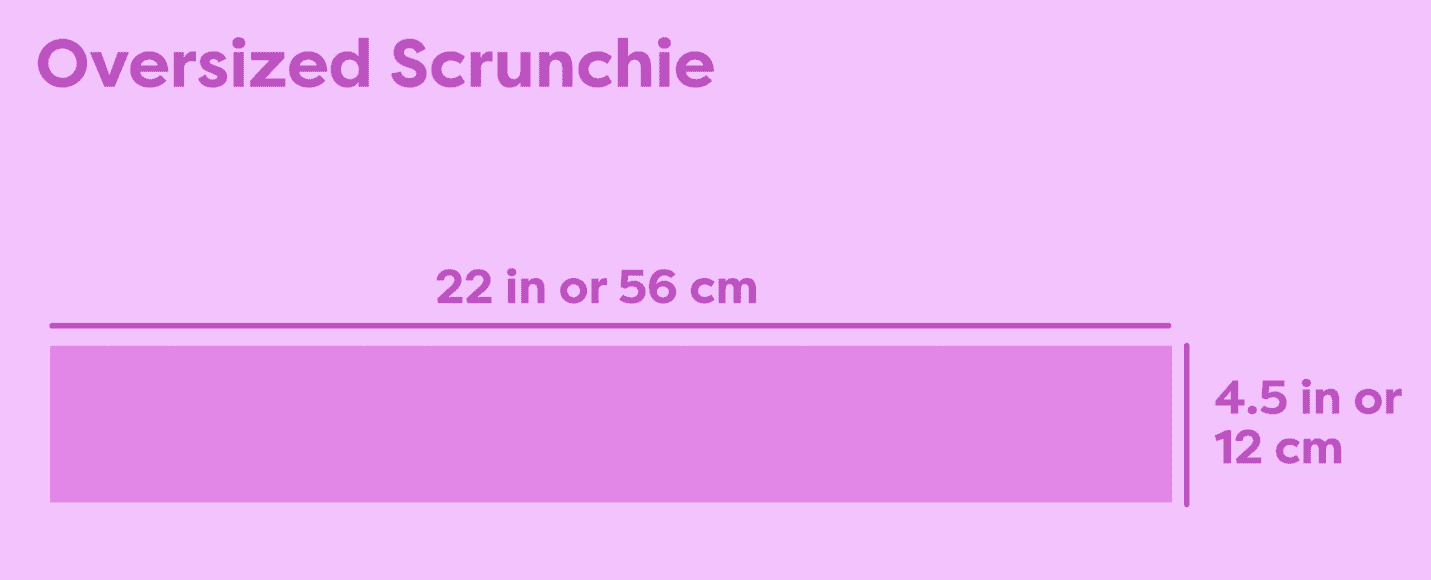
Cut your fabric at 22” x 4.5”. or 56 cm x 12 cm. The extra-wide fabric will give it that oversized look. And if you desire a scrunchie with more of a bunched look you can extend the fabric by 1 – 2” or 2 – 5 cm.
Follow the same instructions, sewing along the long edge leaving a 1.5” or 4 cm gap to turn right sides out later.
Pull it through the center.
Stitch the short ends together around the circumference.
Turn it right sides out, pull the hair elastic through and stitch it together with SoftLoc™
And close up the gap with Designer™ and an invisible stitch.
And there you have it, a perfectly oversized scrunchie for that extra touch of wow factor.

Now that you’re all ready and accessorized for spring we can only imagine the other ideas you’ve got springing up for new projects!
If you plan on making these scrunchies don’t forget to tag us on social media using the hashtag #wonderfil so that we can share your wonderful creations! You can also sign up for our free newsletter to receive more educational sewing tips, tutorials, and free patterns. Register by clicking here! We’ll see you again next time!