Usually a thread is meant to hold things together, not disappear when exposed to water! However, water soluble thread has a lot of fantastic uses that you may not have thought of before. (Pro tip: don’t forget you can’t lick the end of this thread when threading a needle). Here’s a list of 5 great ways you can use water soluble thread so you can both improve your sewing and sew more efficiently!
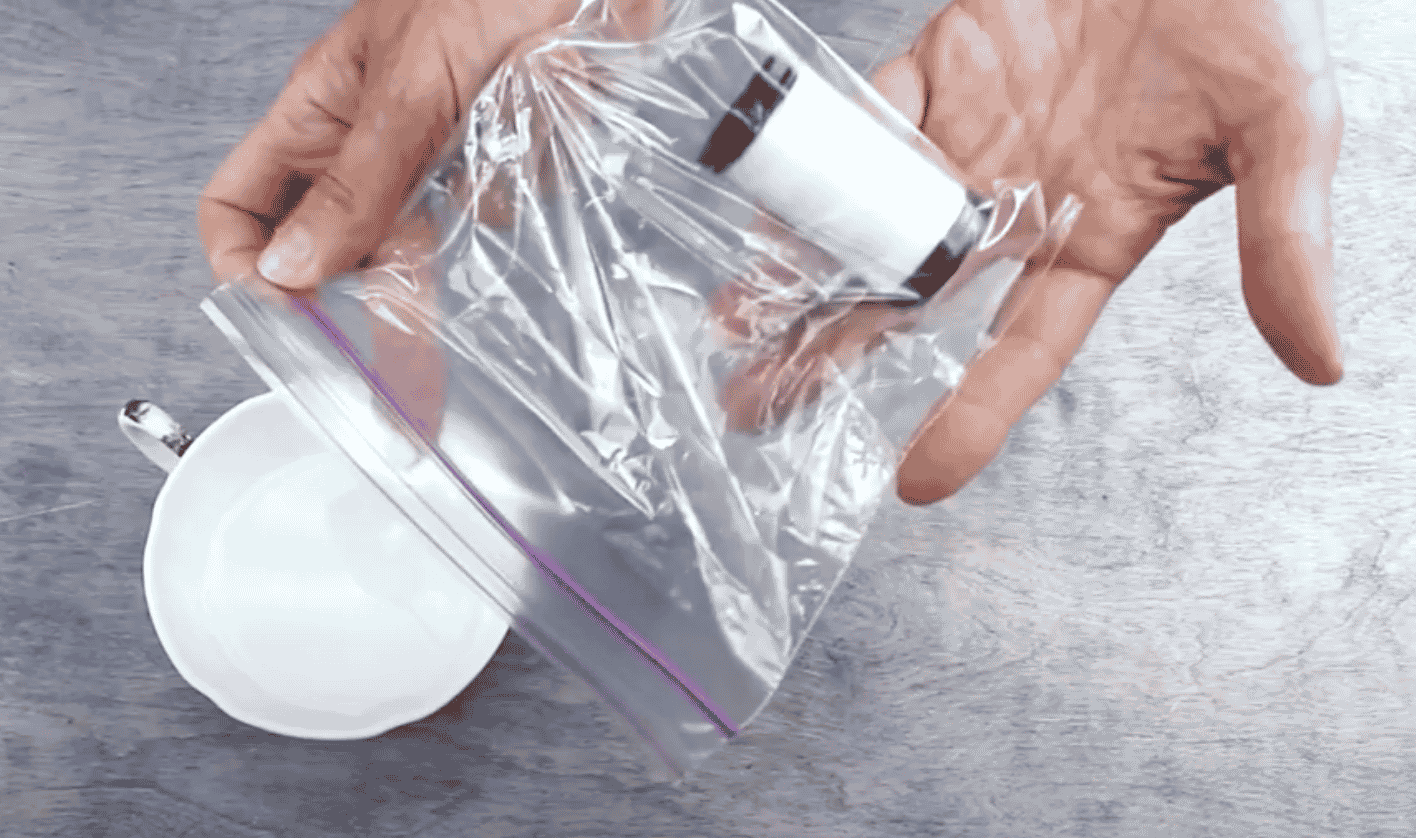
This is Rinse ‘n Gone, and like its name sounds, it will actually melt and disappear when exposed to water. Remember: Do not lick the end of it to help thread your needle! We also recommend storing it in a sealed bag in a dry place as direct exposure to liquid can wreck your spool.
Basting quilts or clothing:
There’s a lot of times you might want to baste when sewing a project together. The beauty of using water soluble thread is that you don’t have to pull the basting stitches back out when you’re finished with them!
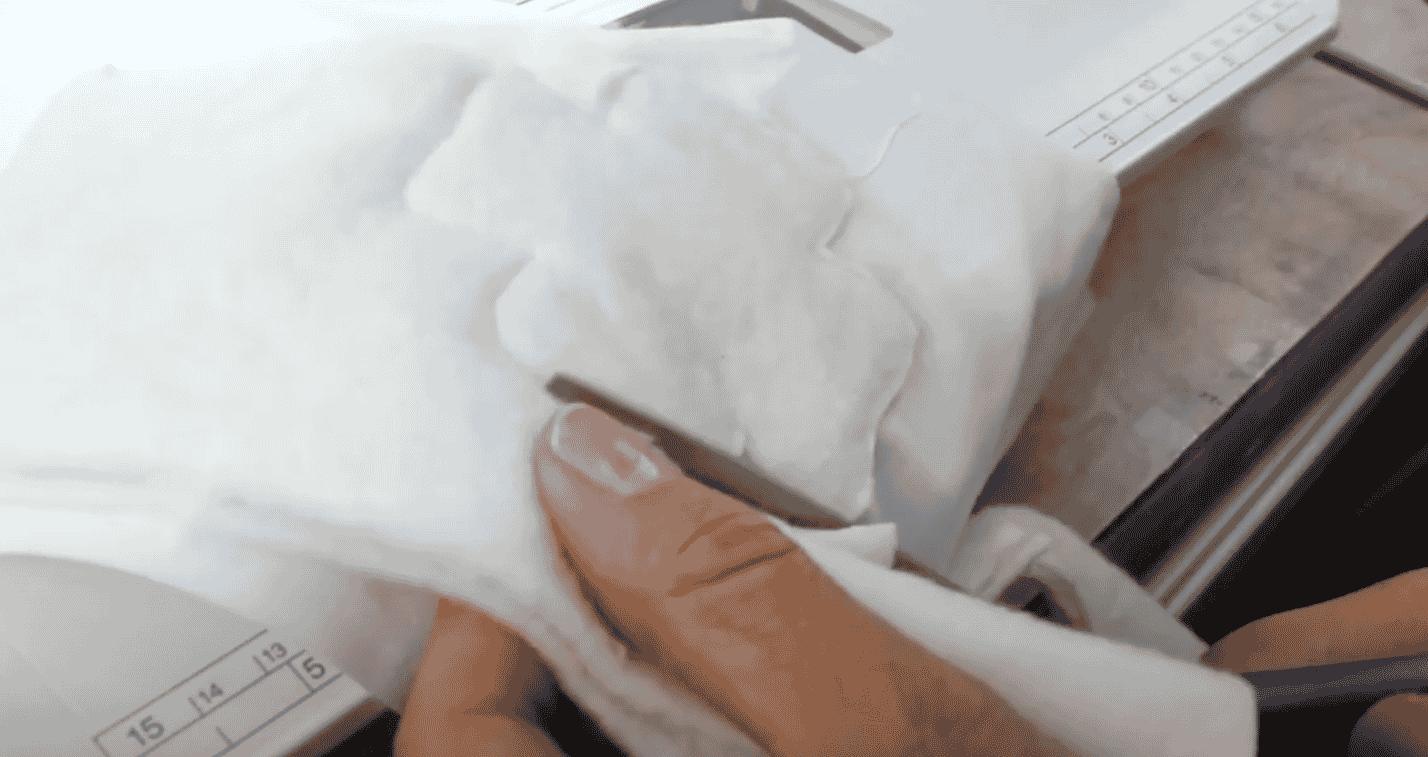
You can use it to baste your quilt top in place to keep it from shifting when you’re quilting it. Start by positioning the piece you want to quilt using pins, then using a hand sewing needle threaded with Rinse ‘n Gone, make big basting stitches across the project, removing the pins as each section is secured. Now you can quilt my project without needing to worrying about quilting around the pins. The basting can easily be removed by putting the quilt or project in the washing machine on a gentle cycle, or simply scrubbing out the thread with a wet toothbrush.
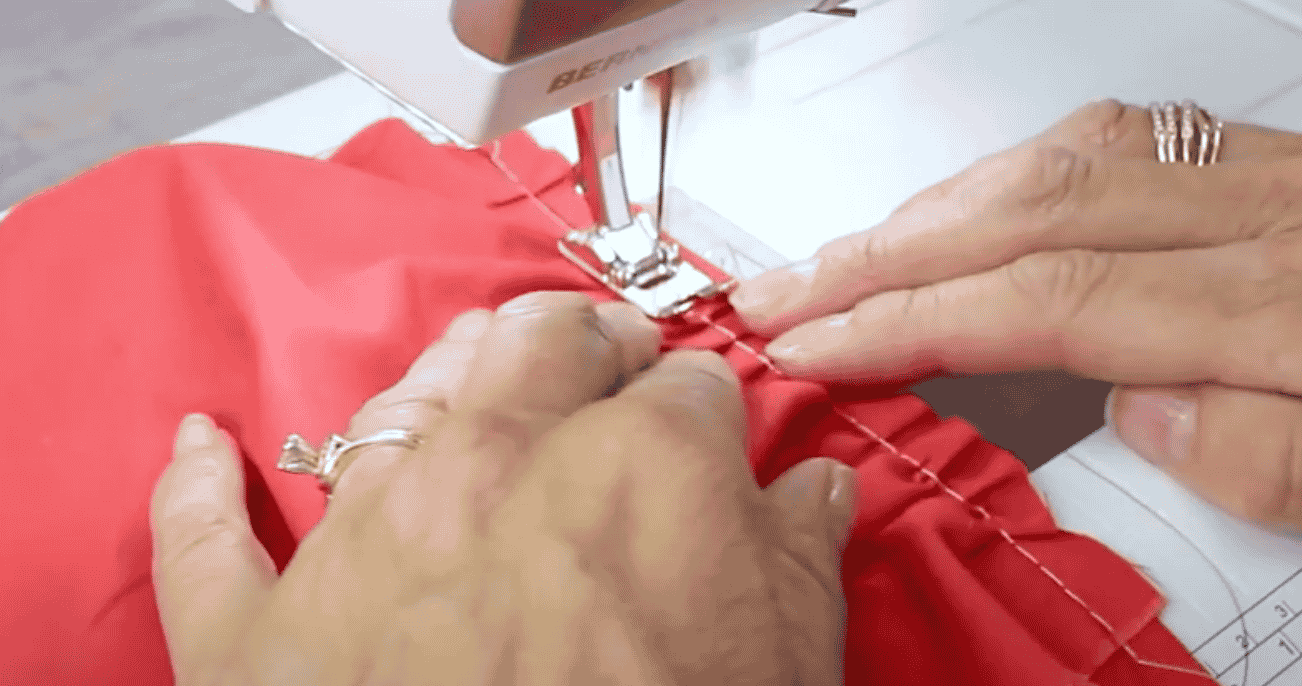
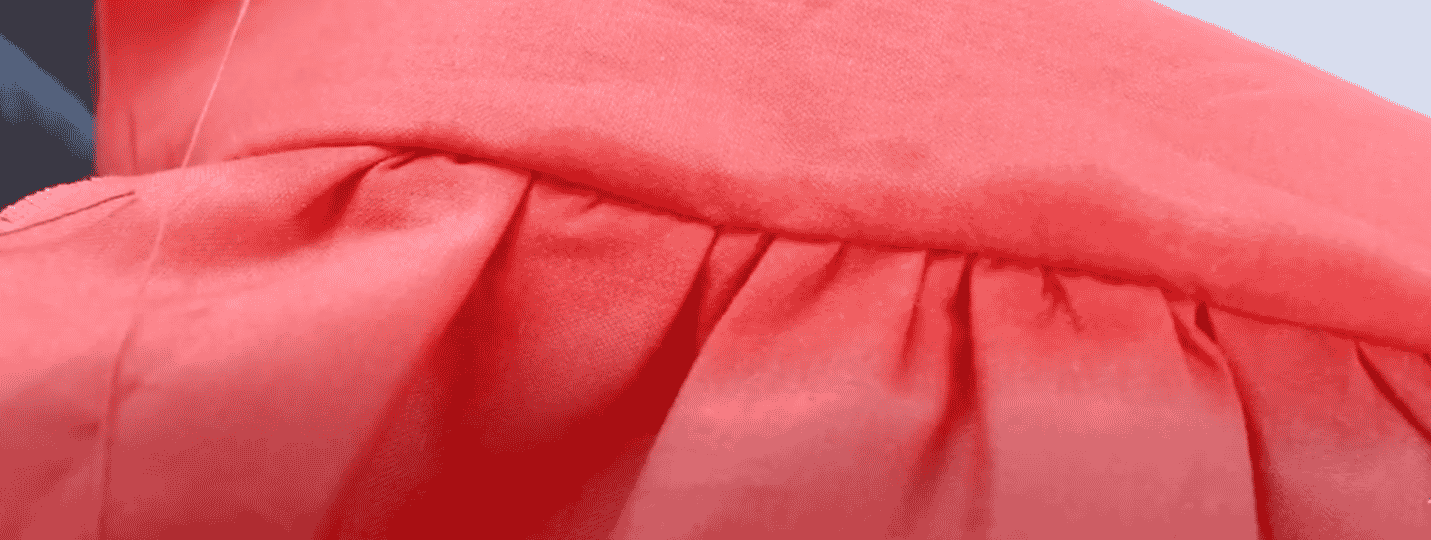
Use Rinse ‘n Gone to baste clothing pieces together. Sometimes a pattern will call for easing in sleeves or gathering fabric, and a basting stitch is perfect to do that temporarily before you stitch it down permanently. Like a quilt top, just give your project a wash in the machine when you’re finished, or take a damp toothbrush or sponge and gently brush it away. The thread will disappear like magic.
Trapunto:
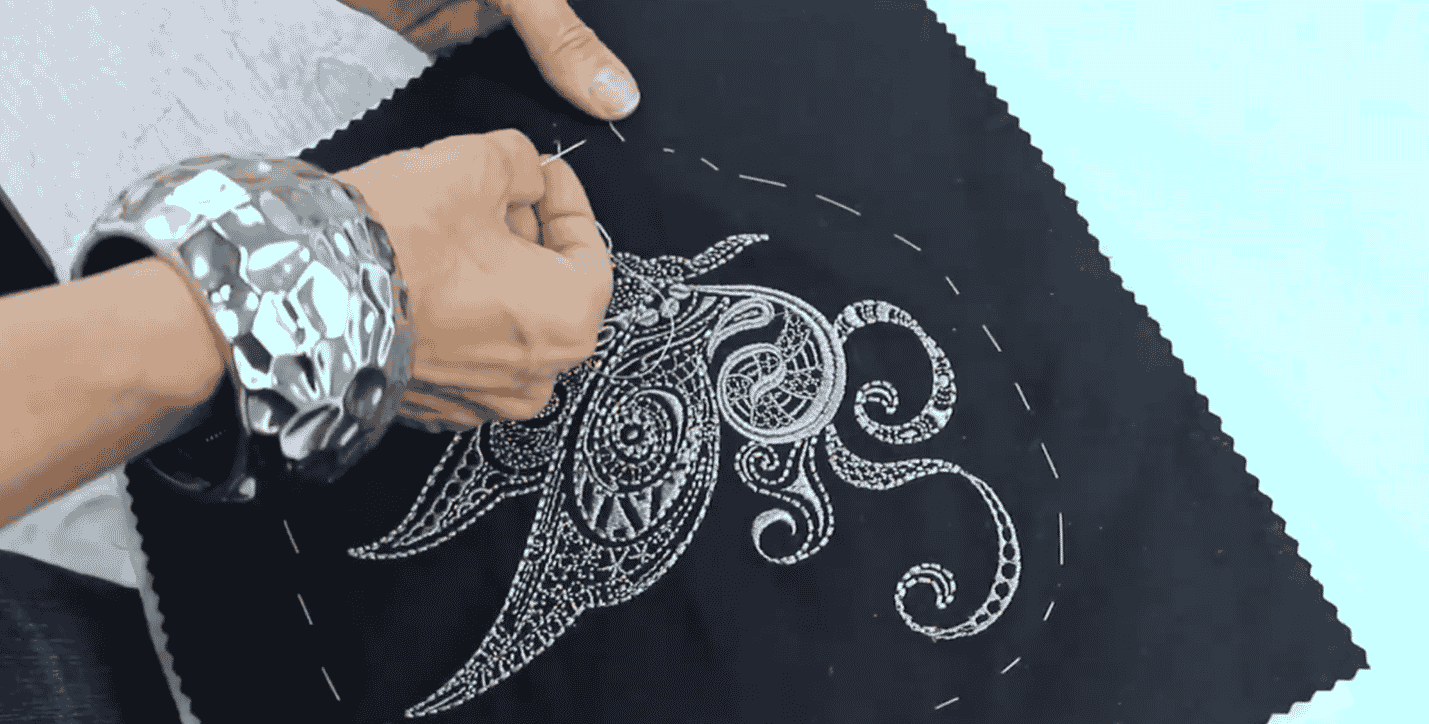
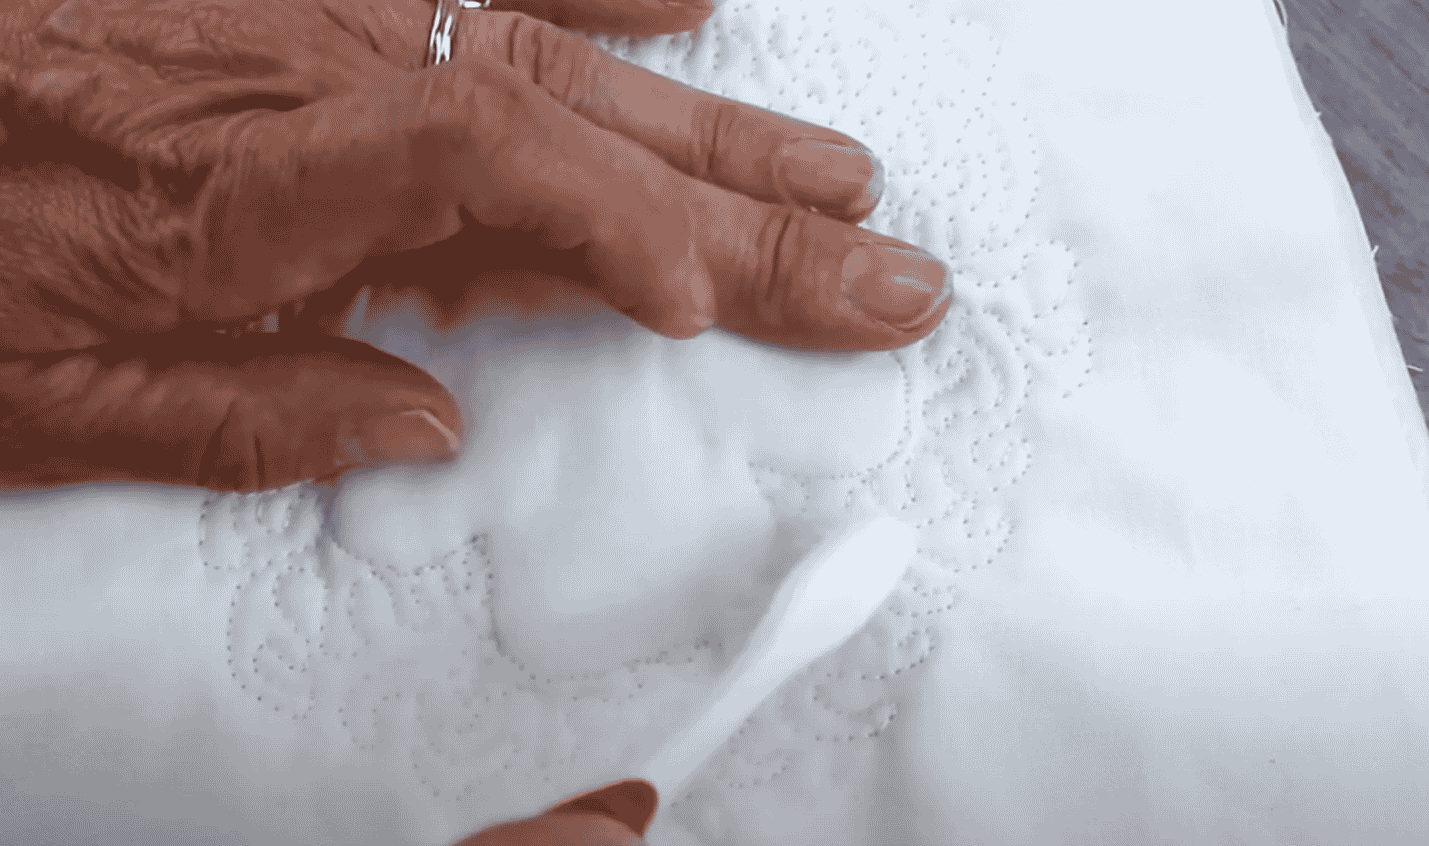
Water soluble thread works great when securing your initial layer of batting when doing trapunto. First, draw your trapunto design with a washaway marker. Now place two layers of high loft batting under your design and stitch around your raised layer with Rinse ‘n Gone thread in the needle, and a bobbin thread in the bottom, such as DecoBob 80wt thread. Turn your work around and trim the batting away close to the stitch line.
Next, layer your piece with your regular batting and backing. Quilt around your design as desired with your chosen quilting thread, leaving the raised layers unquilted. When your work is complete, simply wash your project or spray with water and brush with a toothbrush to remove the Rinse ‘n Gone.
Slashed textured fabric:
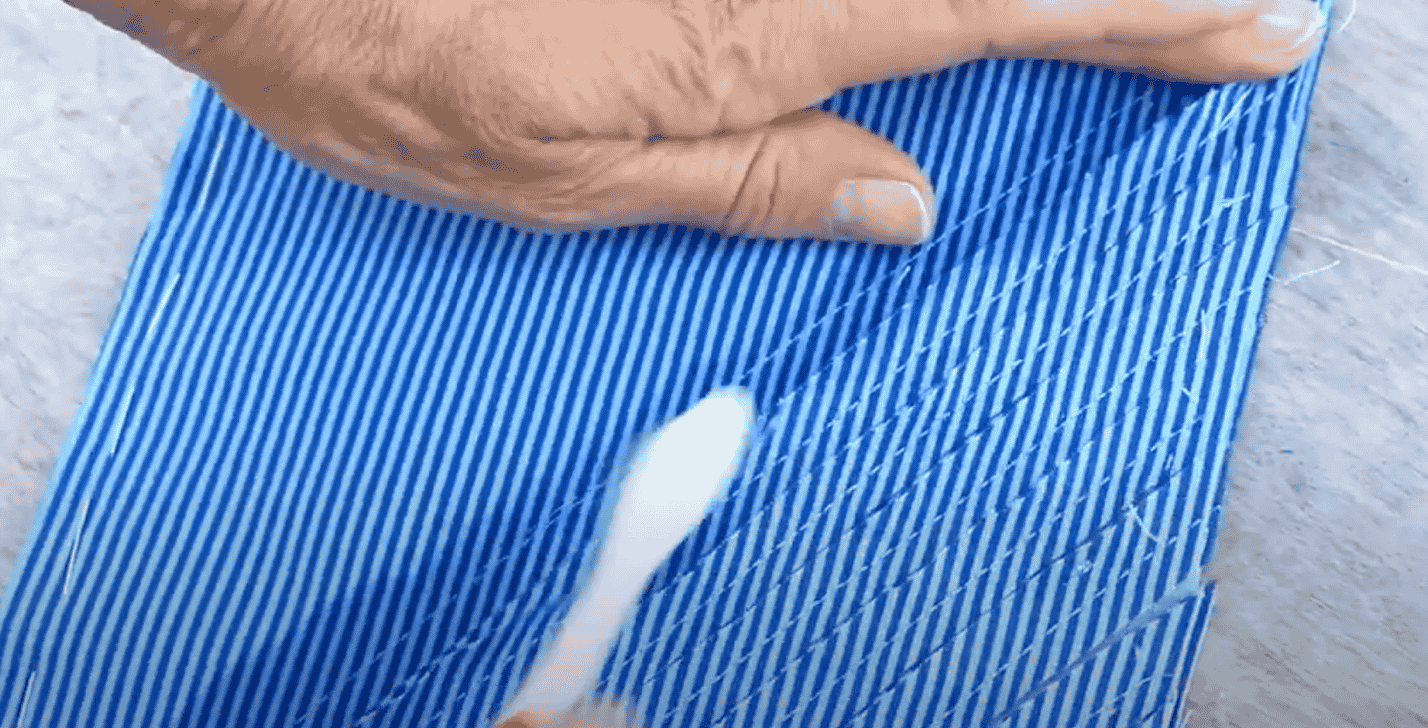
Here’s an interesting texture you can give your fabric. Using three layers of fabric, with the top two rights sides facing up, and the bottom right side facing down, hand baste it all together with big stitches using Rinse ‘n Gone.
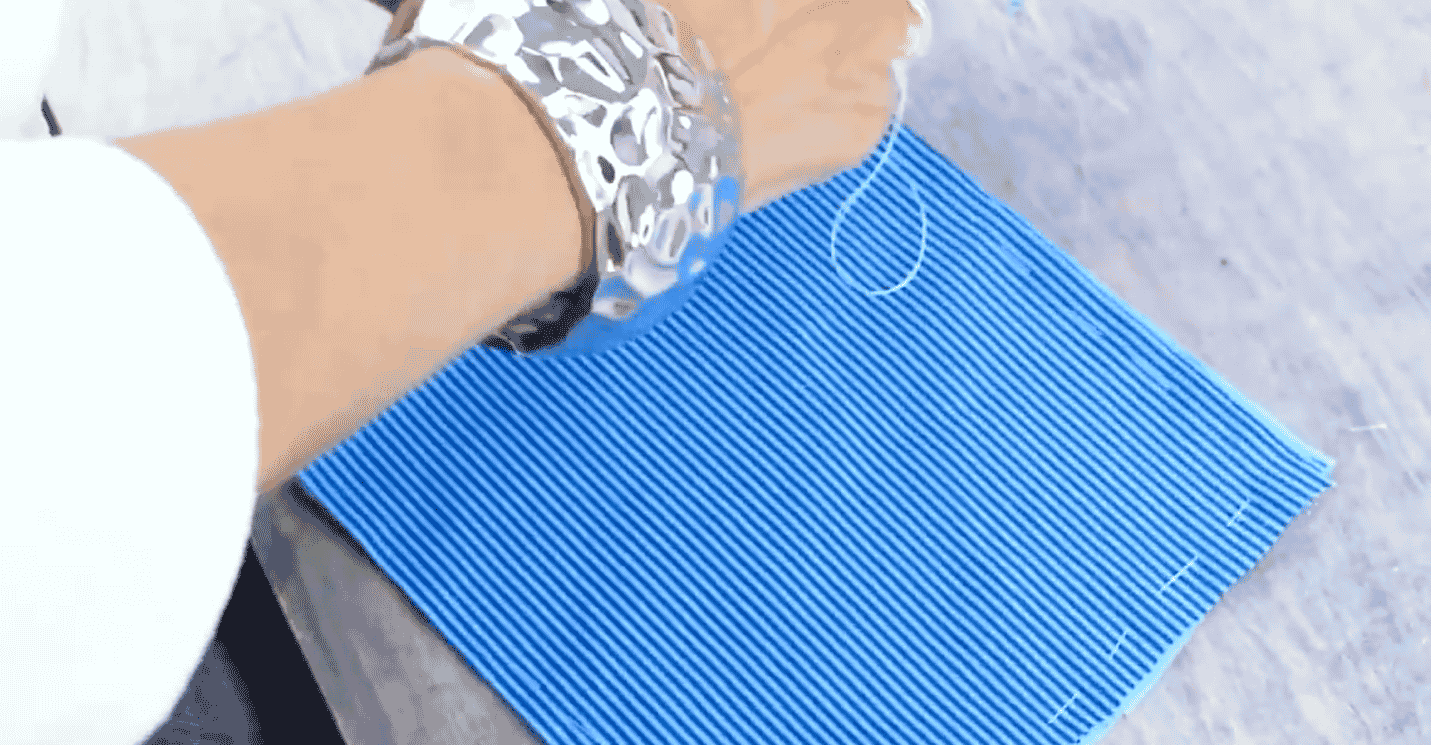
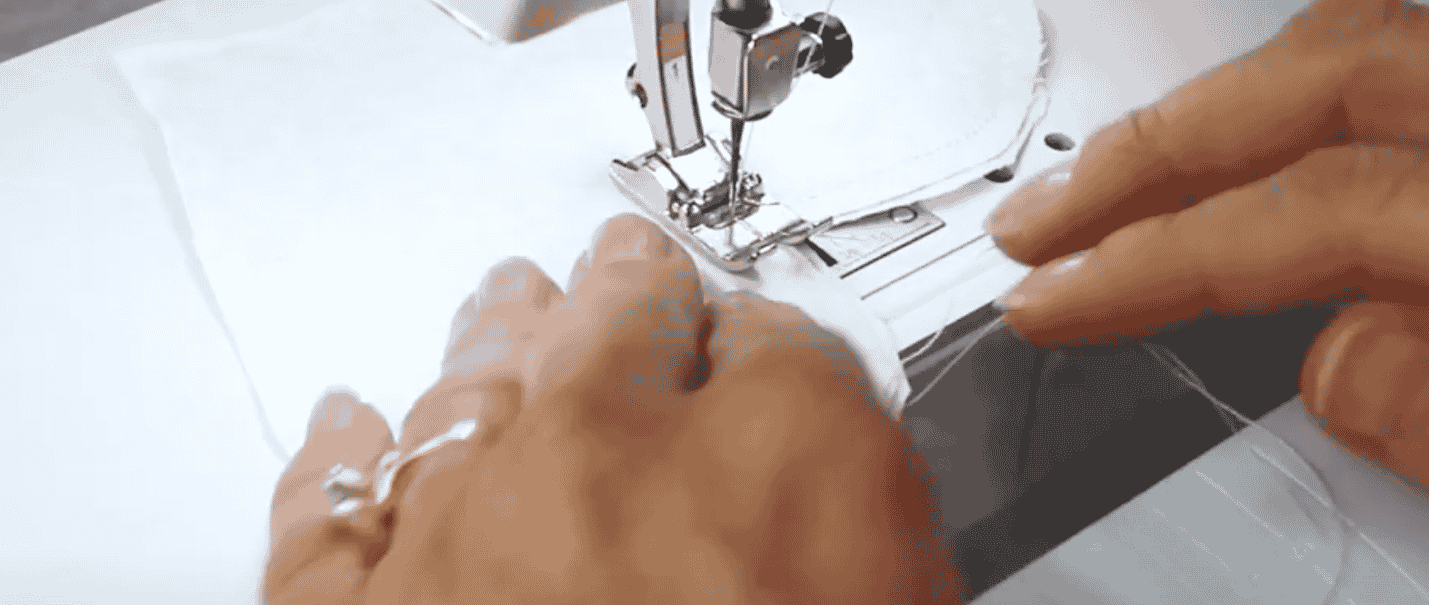
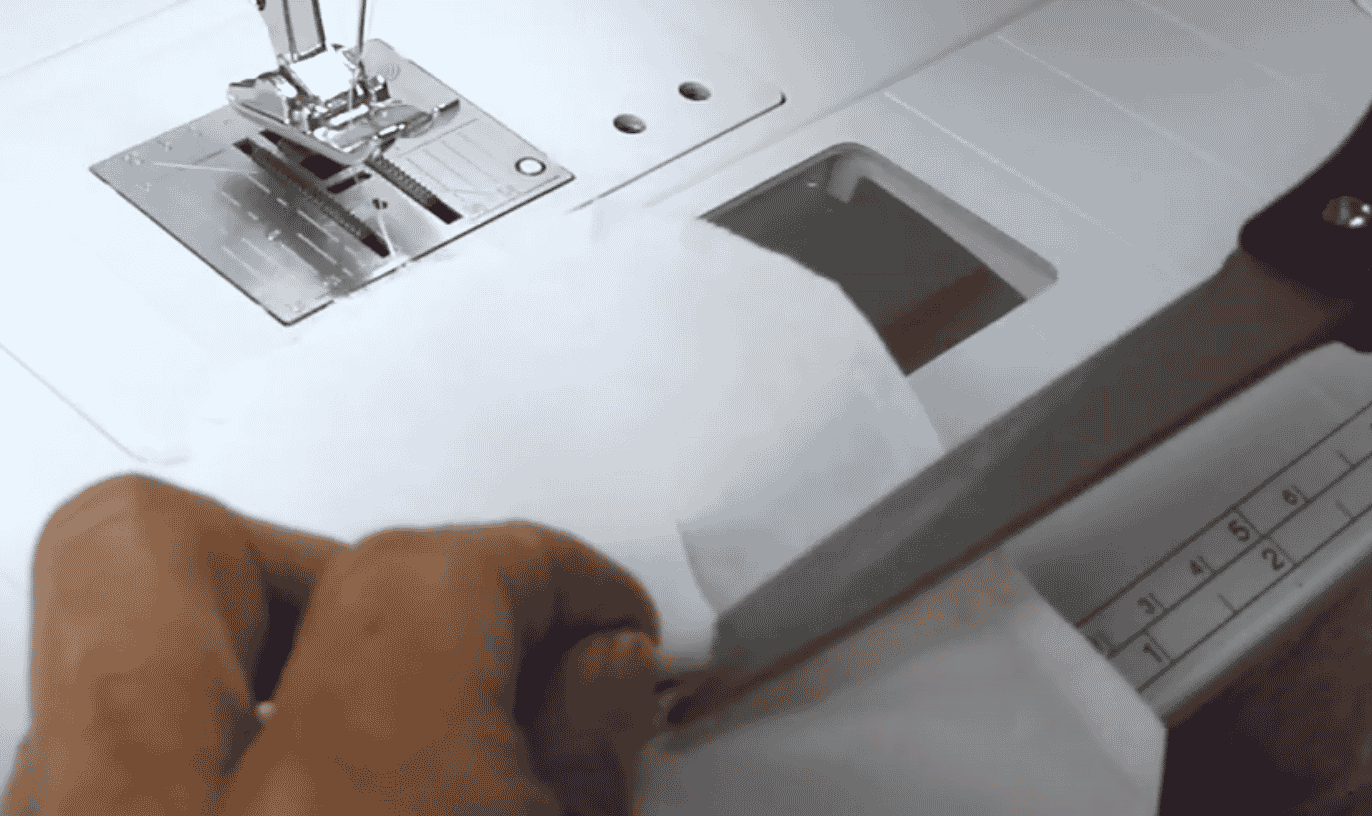
When it’s all secure, load your sewing machine with a permanent sewing thread and sew straight lines across one end of your fabric to the other, about a half inch apart or following the edge of your presser foot.
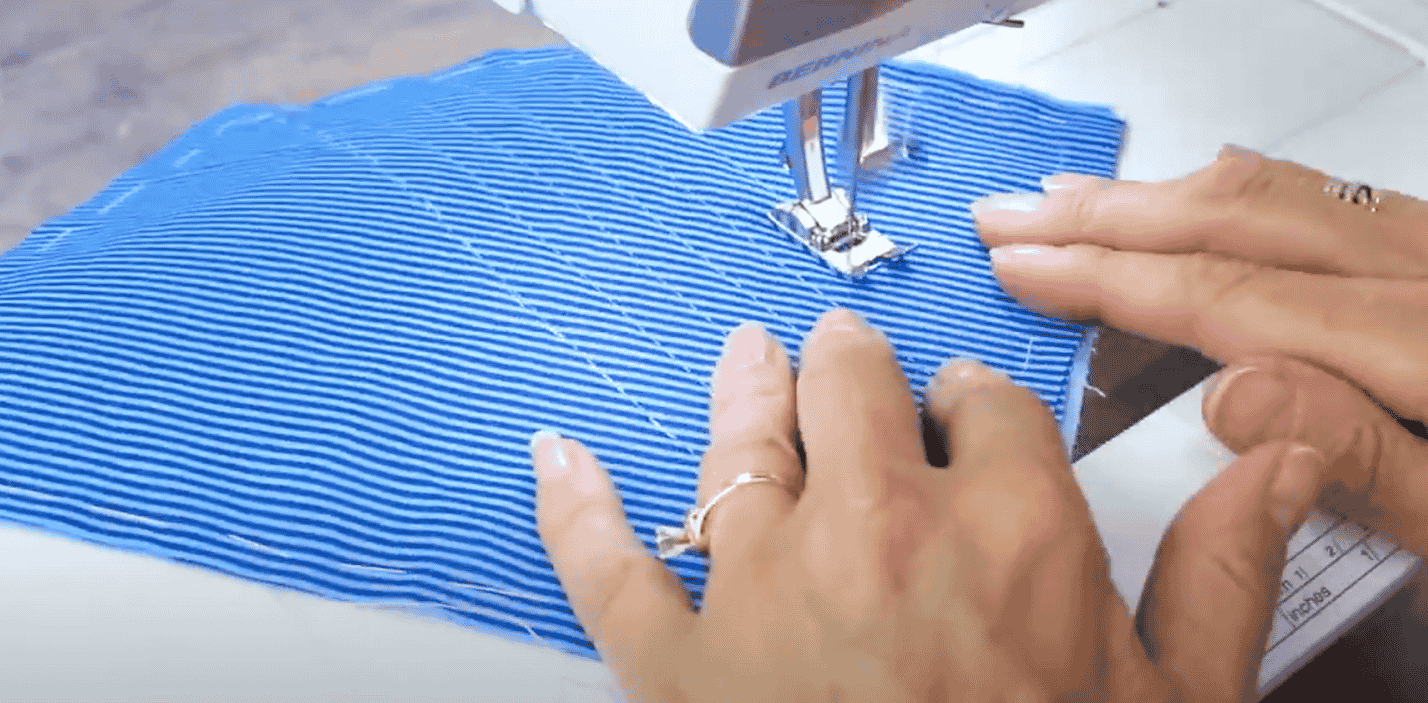
When you’re finished, take a pair of scissors and snip only the top layer of fabric between the lines of stitching. Wash your project and give the raw edges of the fabric a brush, resulting in this textured fabric you can use on anything from quilts to bags, to clothing and accessories.
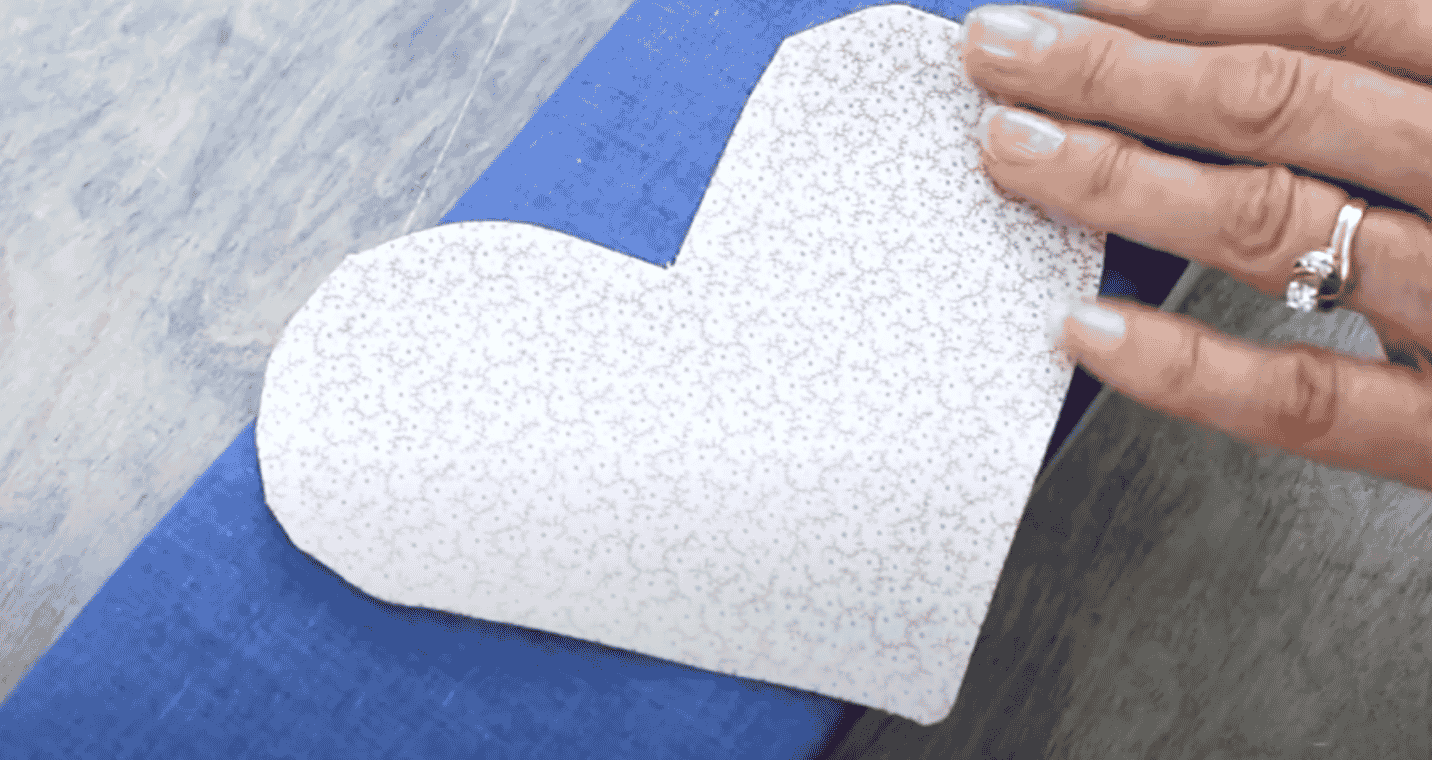
Perfect appliqué:
Take two pieces of the fabric, one you want to appliqué with and the other a scrap piece that can be discarded later. Place the appliqué fabric right side down. Load your machine with Rinse ‘n Gone in the bobbin and a regular sewing thread in the top. I’ll be using DecoBob, an 80wt cottonized polyester thread, since it will allow my appliqué to lay flat and make my miters sharper. Trace your appliqué shape on the fabric and sew along the lines. You won’t need to backstitch at the beginning or end.
Once you’ve gone all the way around, make sure you trim the excess fabric close to the sewing line. Remember to snip around all curves and into corners so you can have sharp, mitered lines.
Now you’ll have a piece that will need to be turned right side out. Snip an X through the middle of your scrap fabric to make a turning hole, being careful not to cut the fabric on the other side.
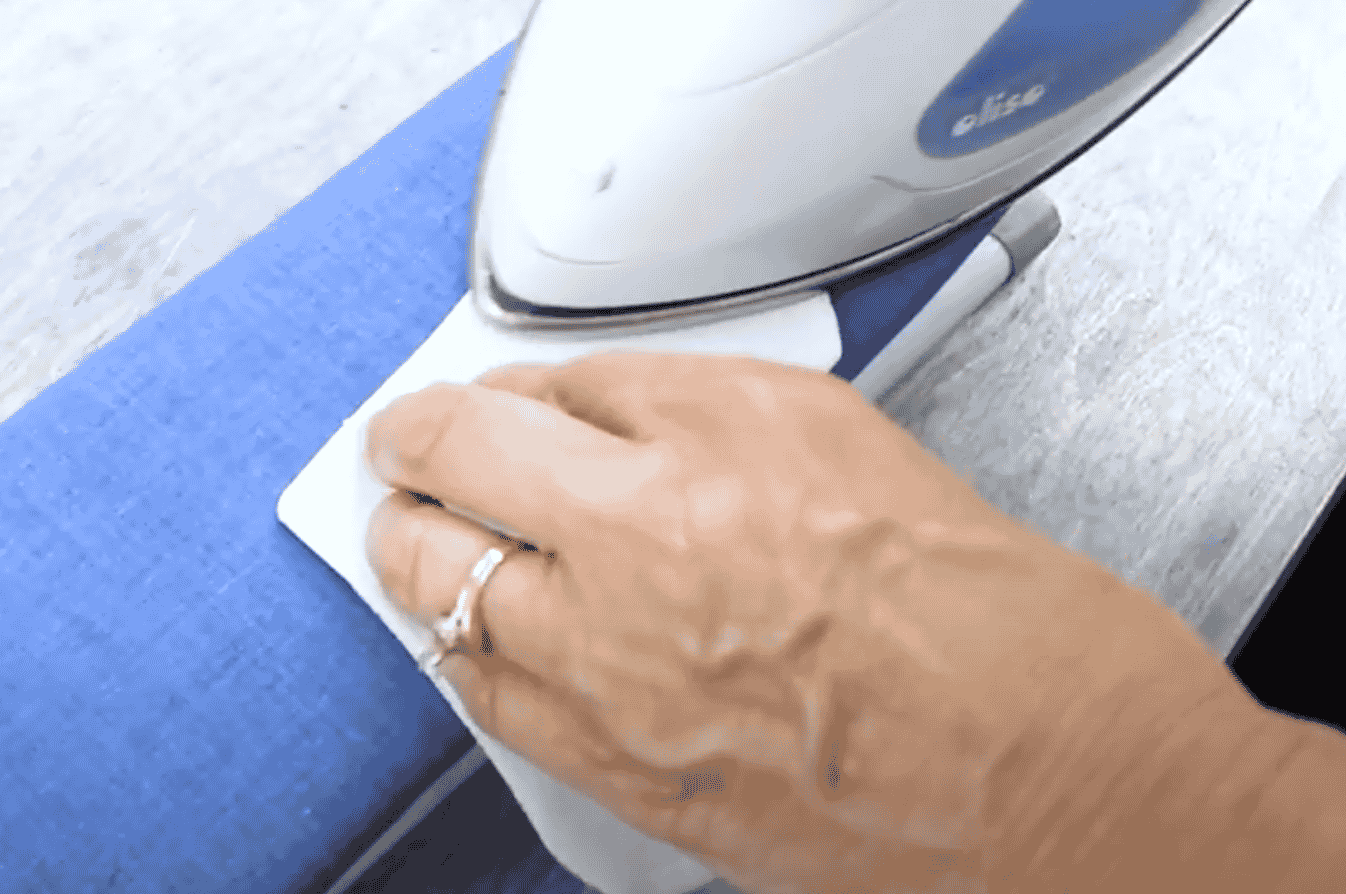
Take a hot iron and make sure the steam setting is as high as it will go. Press your appliqué with steam to make the soluble thread disappear. If that doesn’t remove all of the water soluble thread, you can also scrub it away with a wet toothbrush. The remaining top thread can be pulled out and discarded.
Now pull the fabric pieces apart, discard the scrap fabric, and you have a perfectly turned piece of appliqué that can be sewn onto your project. Choose either a decorative stitch with a medium to thick thread if you want the thread to show, or a fine thread with a zigzag stitch if you want the thread to disappear.
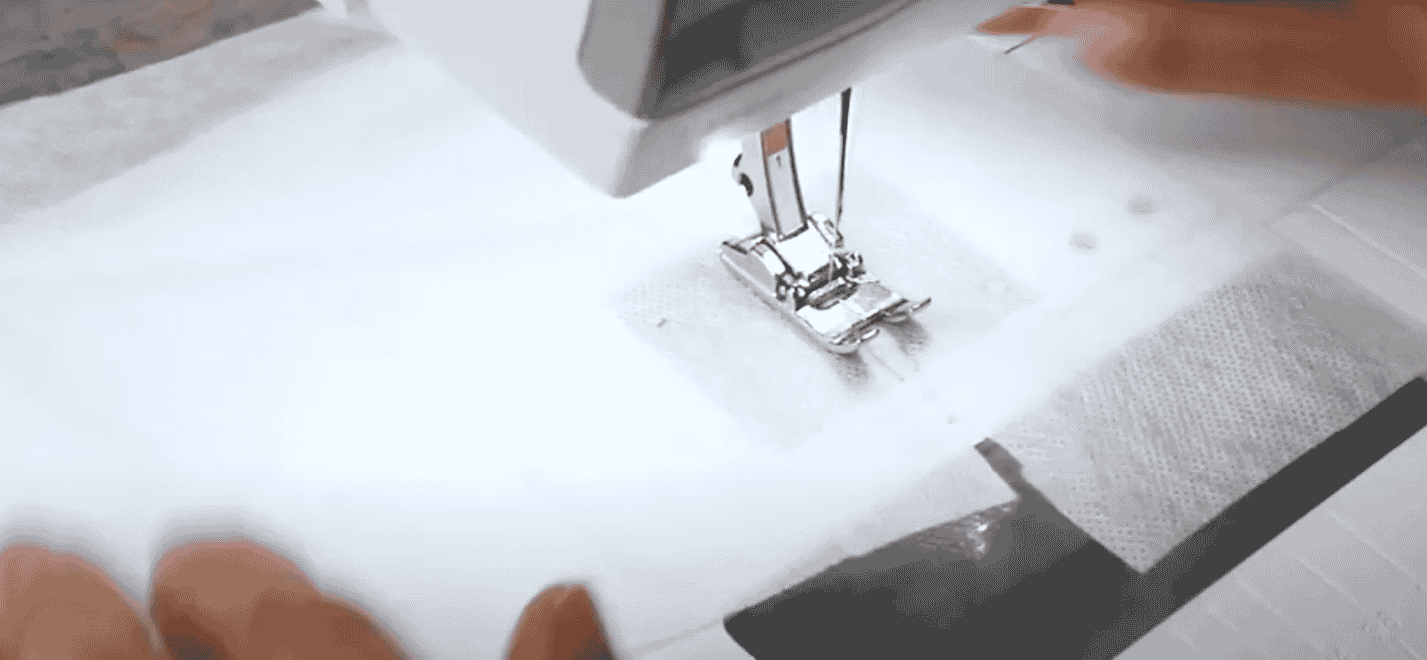
Stitching together small pieces of wash away stabilizer:
Do you have lots of smaller pieces of wash away stabilizer that you want to use in your embroidery machine, but they won’t fit in the larger hoop? Rinse ‘n Gone is the perfect way to sew those smaller pieces of stabilizer together because it will wash away with the stabilizer when you’re finished the embroidery. You can choose to use this as a top thread and bobbin thread in your machine, or stitch it by hand.
Holding down a design in a large embroidery hoop:
Sometimes when doing a smaller design in a large embroidery hoop, your project will end up shifting. Adding some basting stitches with Rinse ‘n Gone will prevent your embroidery from moving while the machine is stitching, and you can easily wash or brush away the stitches once it’s completed. By preventing the layers from shifting, your embroidery designs will be much less likely to pucker, especially with small or highly detailed designs.
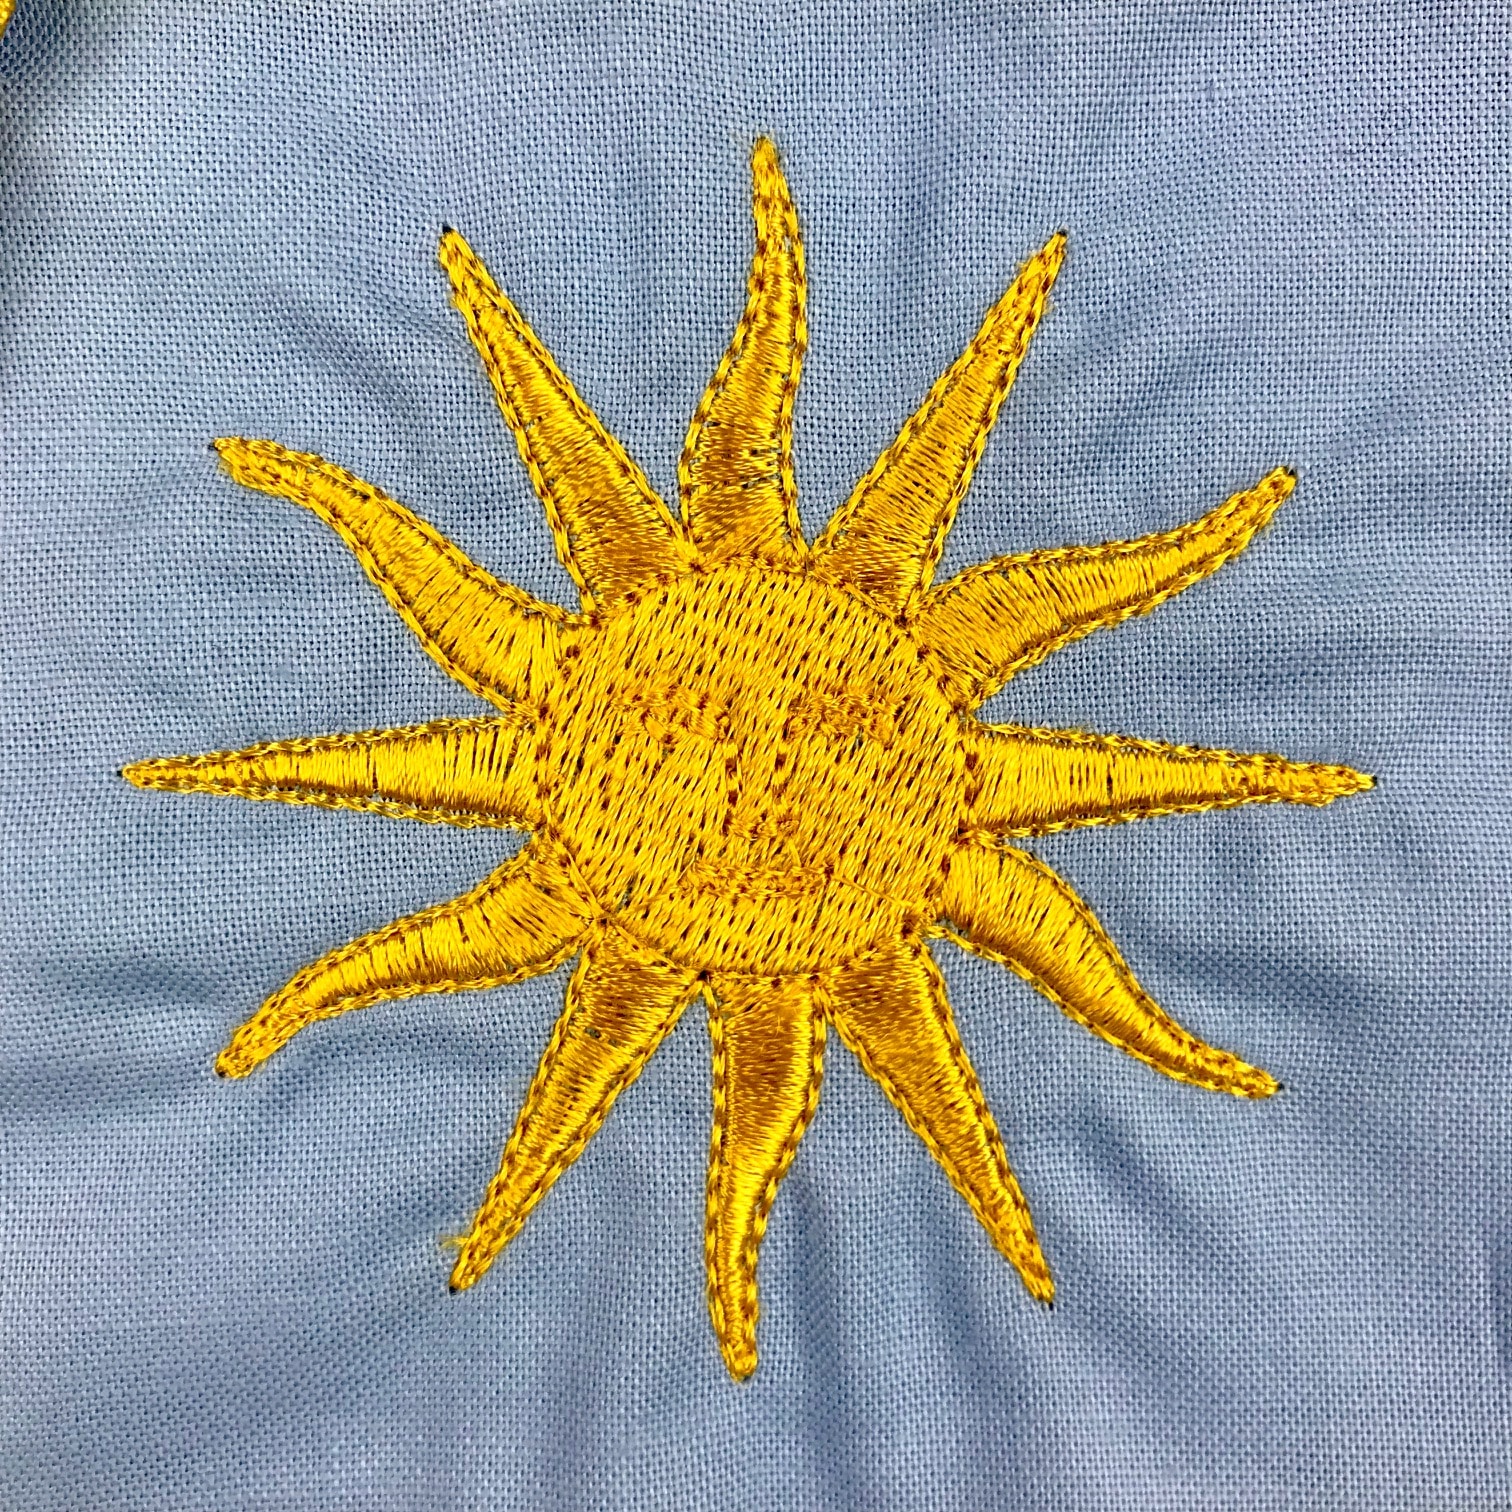 Embroidery design without basting with Rinse ‘n Gone
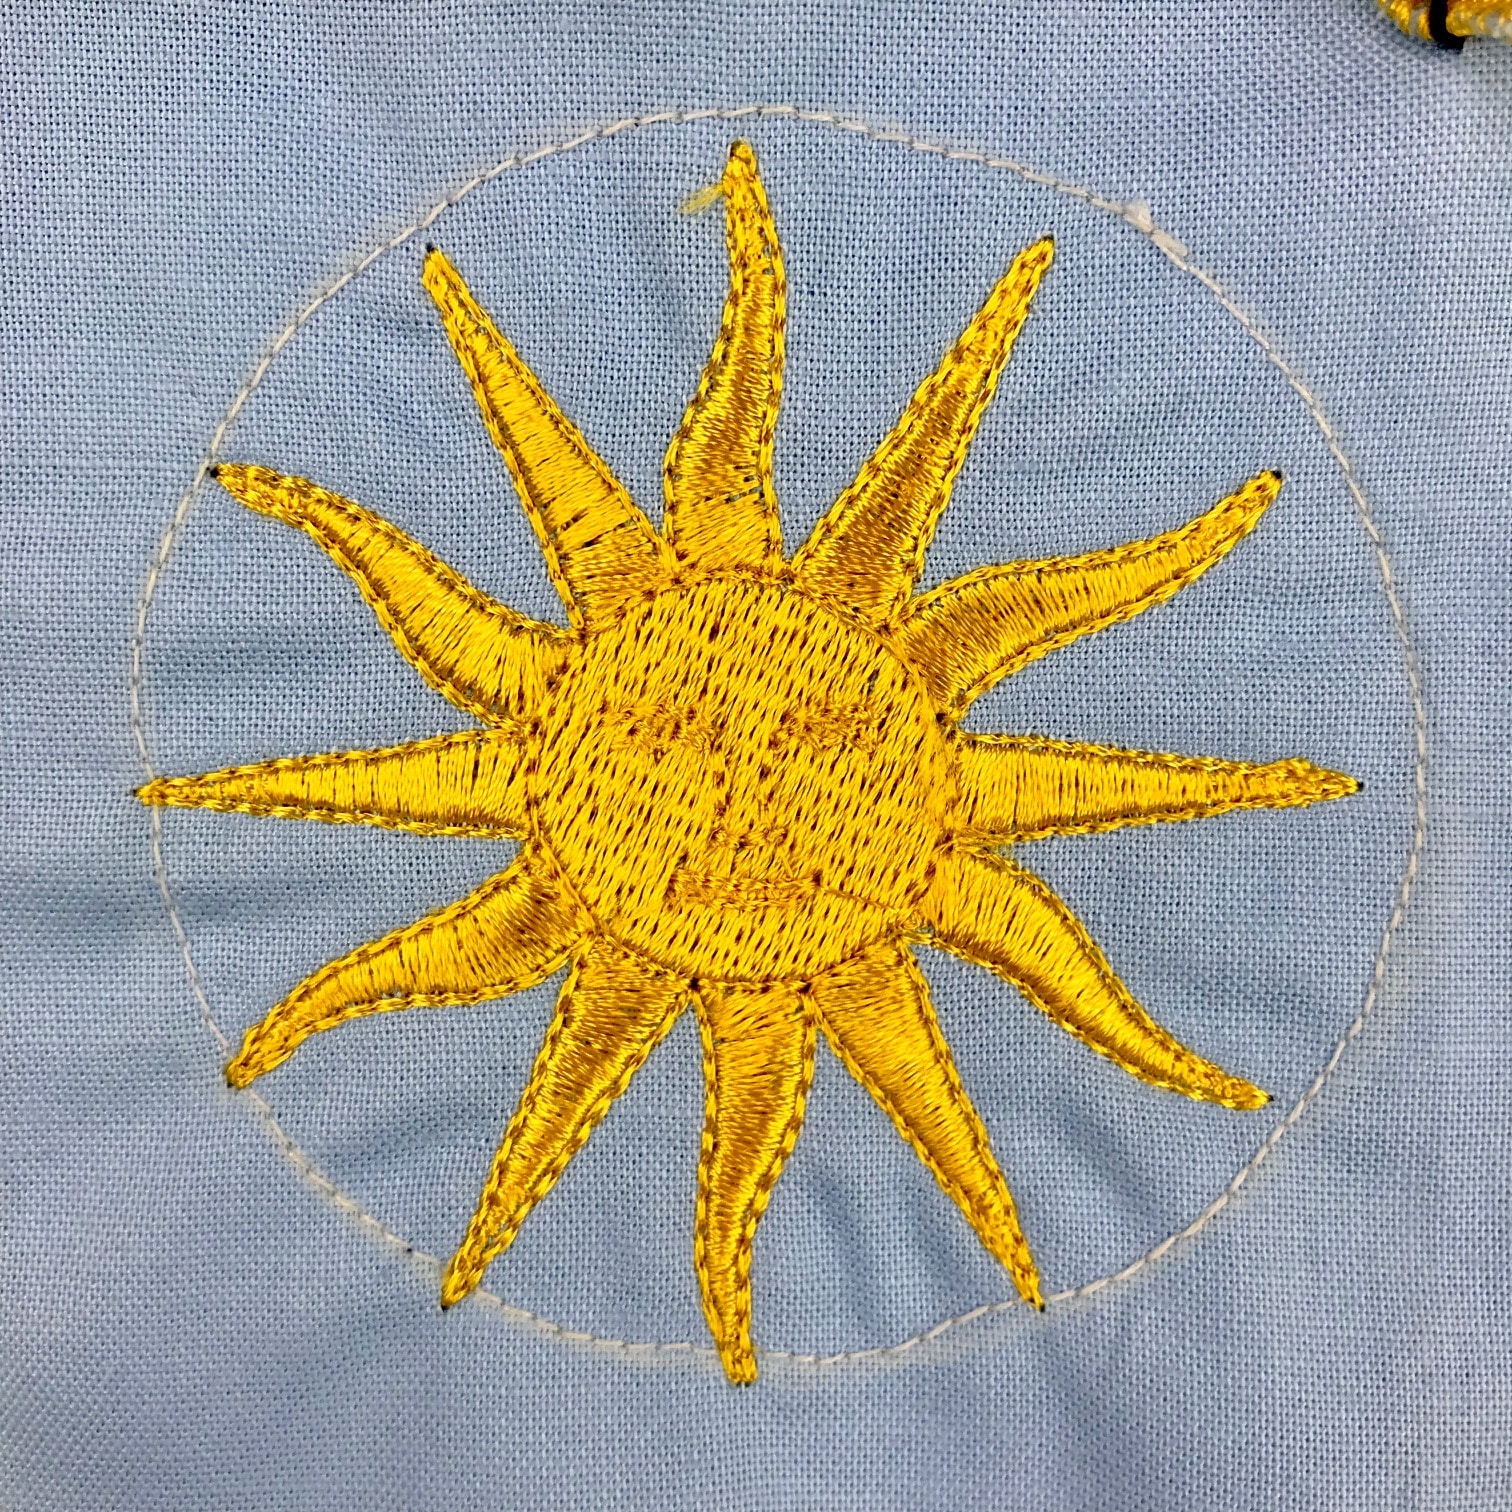
Embroidery design with basting using Rinse ‘n Gone
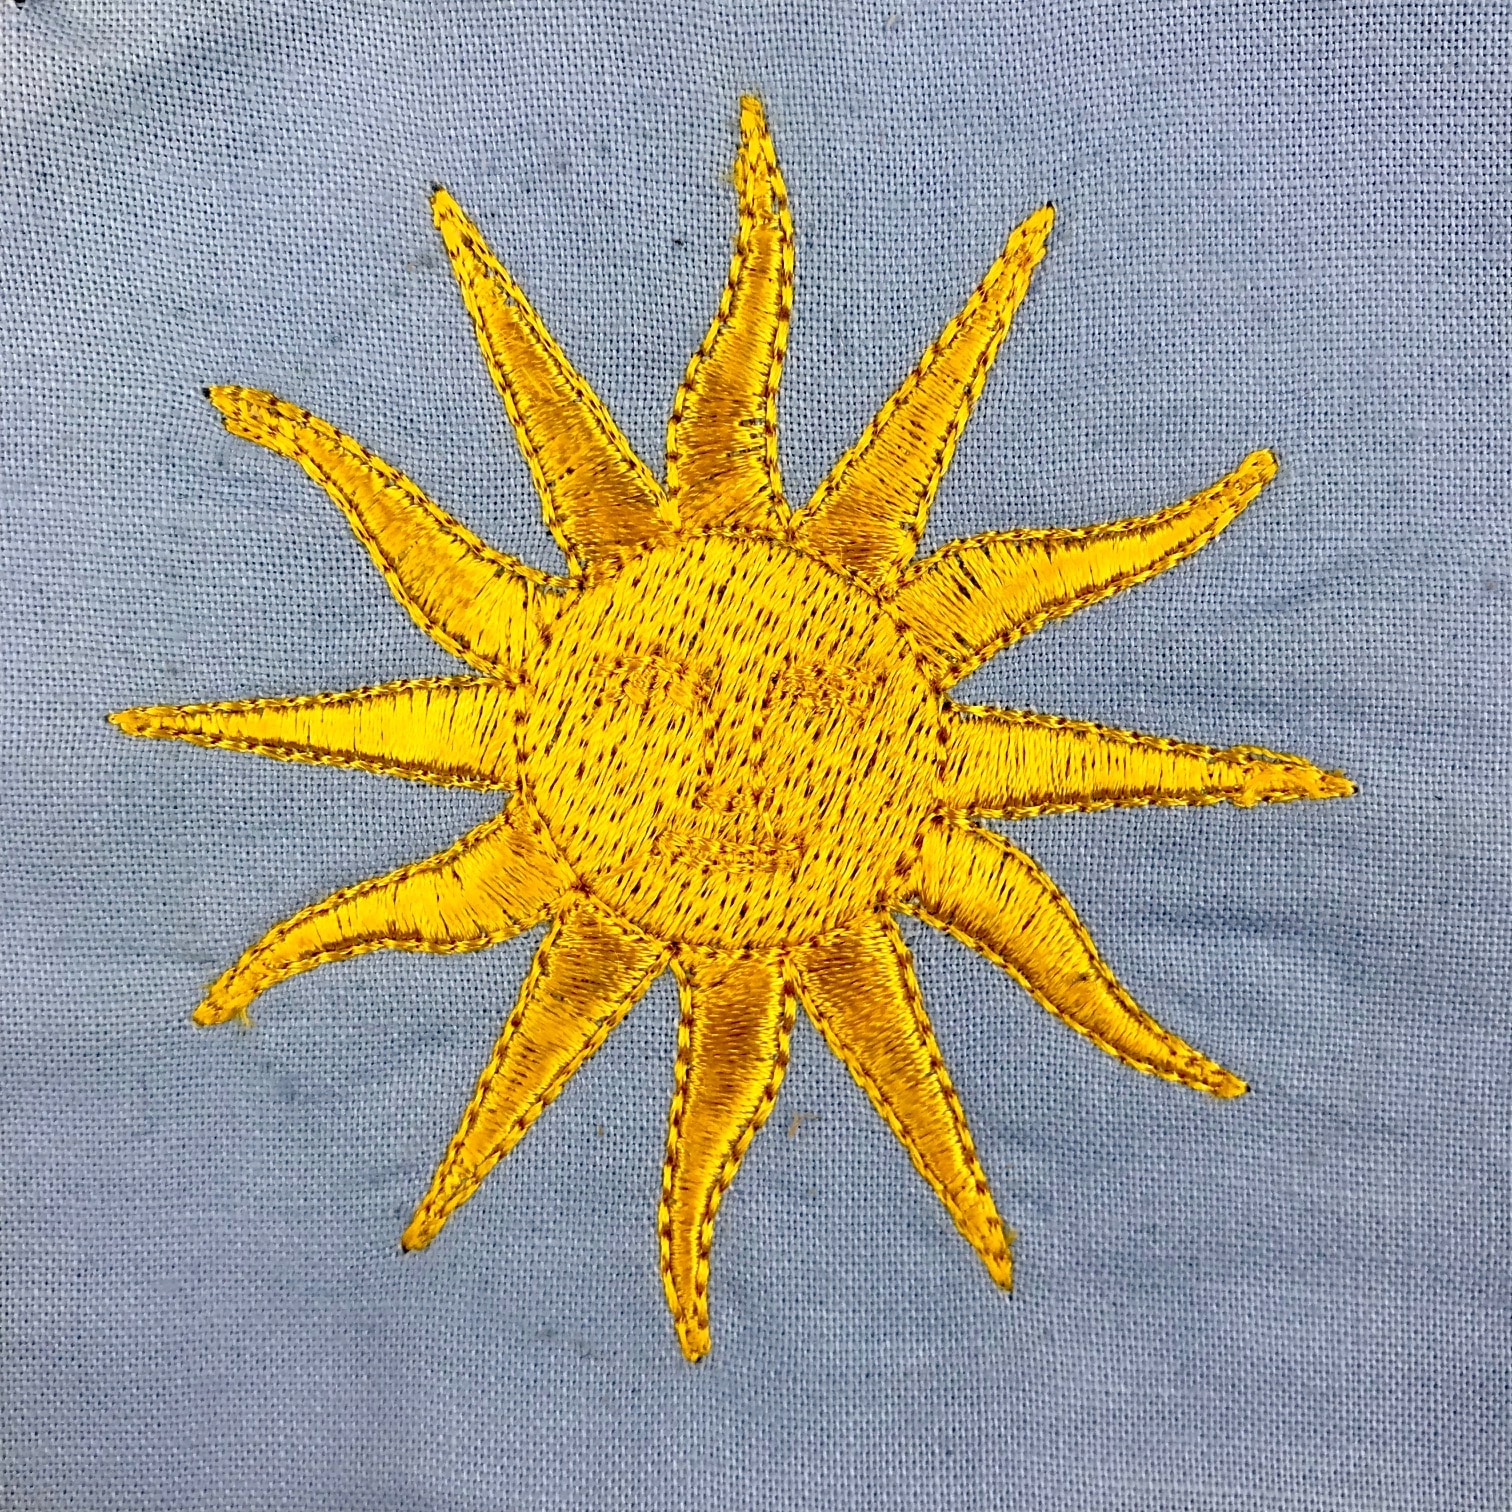
Embroidery design after Rinse ‘n Gone is washed out.
Let us know how you like to use wash away thread in the comments, or share a project you made using Rinse ‘n Gone!