Easter is coming up, and even with the world events going on it does not mean you can’t still get in the spirit. There are so many great Easter crafts that you can do to take up some spare time. Today we are going to show one idea of what to make: little egg shaped pockets that you can tuck cutlery in for a nice place setting at the dinner table. This craft is also a great way to use up scraps of fabric!
Material list we suggest:
A little bit of scrap fabric approximately three 7” X 6” pieces
Threads: Ellana, Eleganza, DecoBob, DecoBob Prewound Bobbins
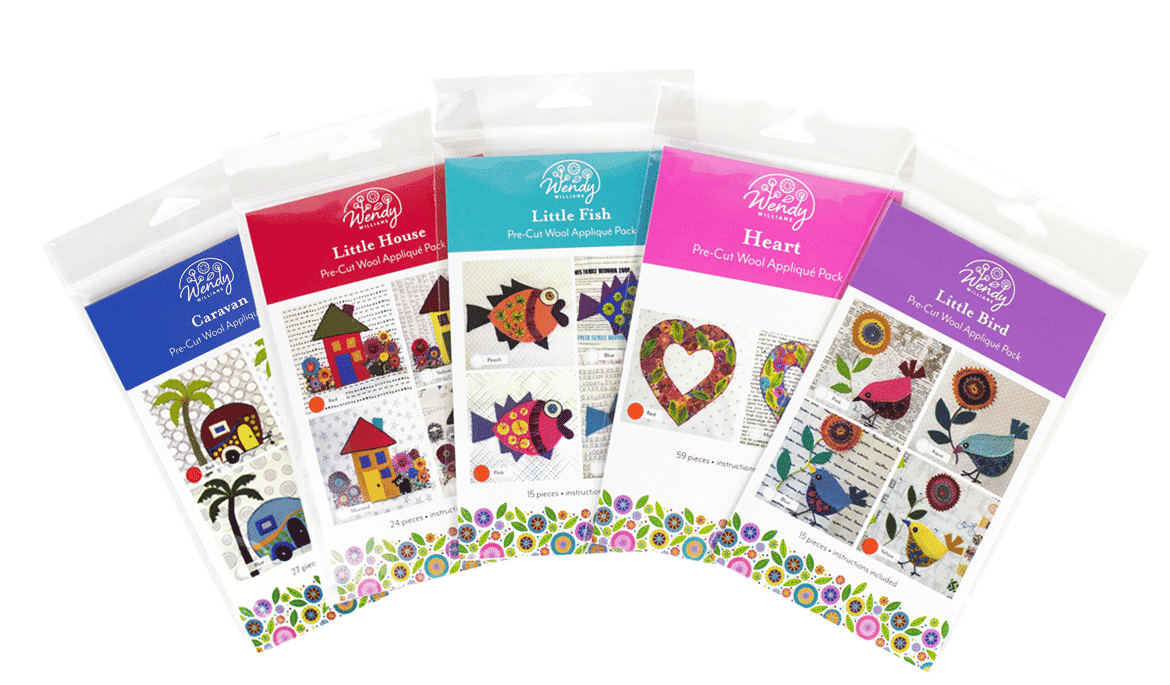
Wendy Williams Pre-Cut Wool Kit
(I will give links throughout for purchasing these items at home)
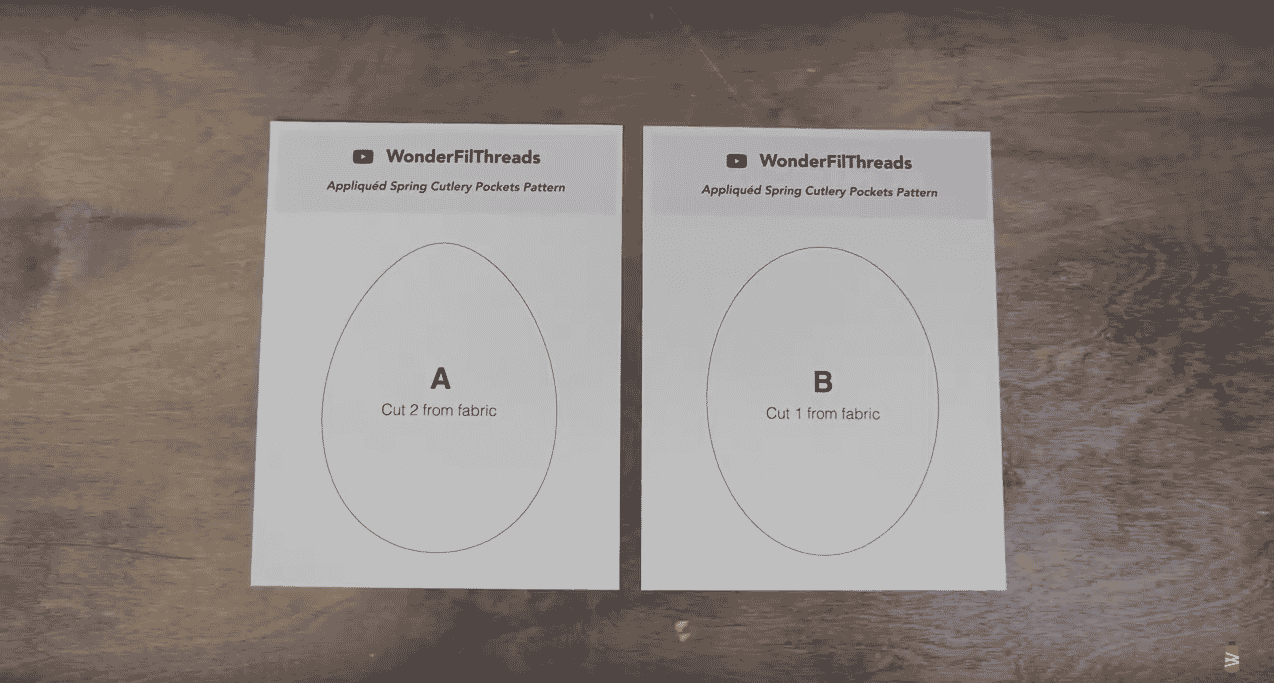
You can start by downloading our free pattern here: https://bit.ly/2WGMbbO
Next you are going to want to gather material. We just used a fun and bright colored cotton fabric for the egg part of this craft. We also used a Wendy Williams pre-cut wool kit in the bird design to make this cutlery pocket pop. If you want to do the same then you can purchase your own here:
 We are doing the applique on piece B. Fold it in half wrong sides together and finger press it to find the halfway point. You want the fold at the top, and we are going to applique on half of this shape as pictured below:
Next we are getting our Wendy Williams bird kit ready to sew on. There are instructions in this kit to show how to put it together, though we are going to switch it up a bit and try something a little different. You can do whatever you prefer.
We are going to sew this wool onto our design with a wool thread called Ellana. The colors of this thread line pair perfectly with the wool in this kit.

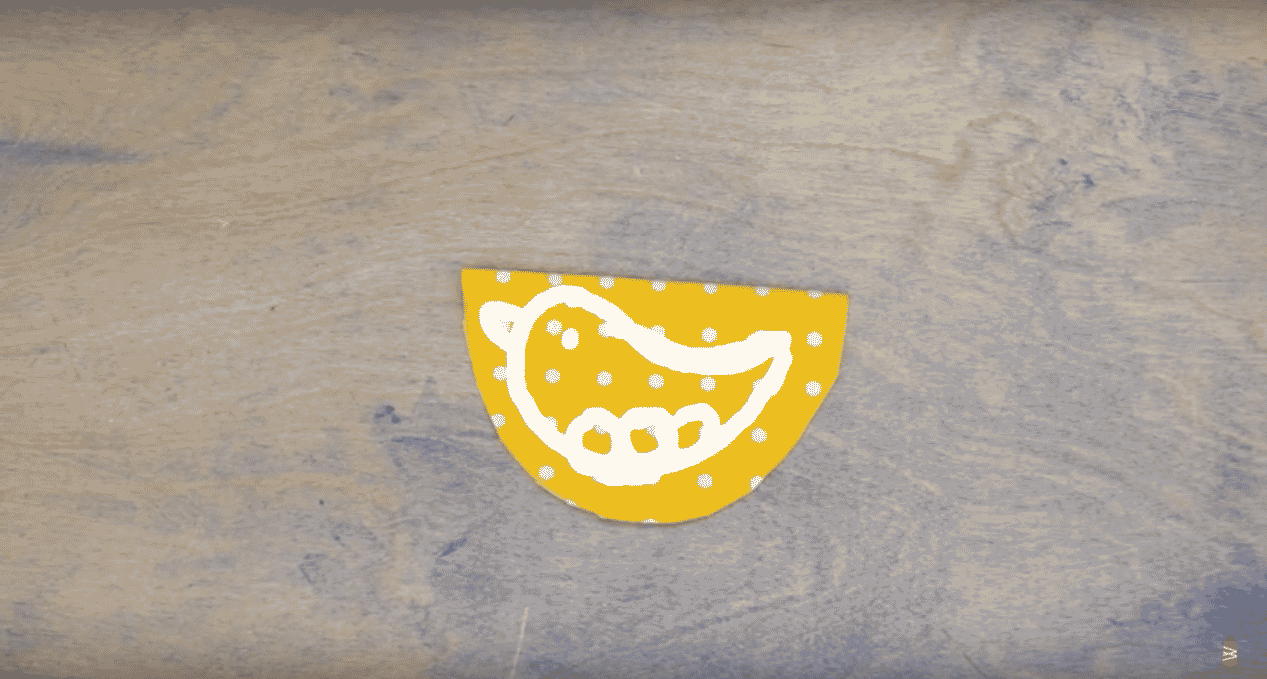
We are going to be appliqueing most of this design down by machine, though you can also take a bit more time and do it all by hand if you prefer. We also used some of the wool pieces and cut them into little egg shapes to go with the Easter theme. Our design/ layout is shown below:
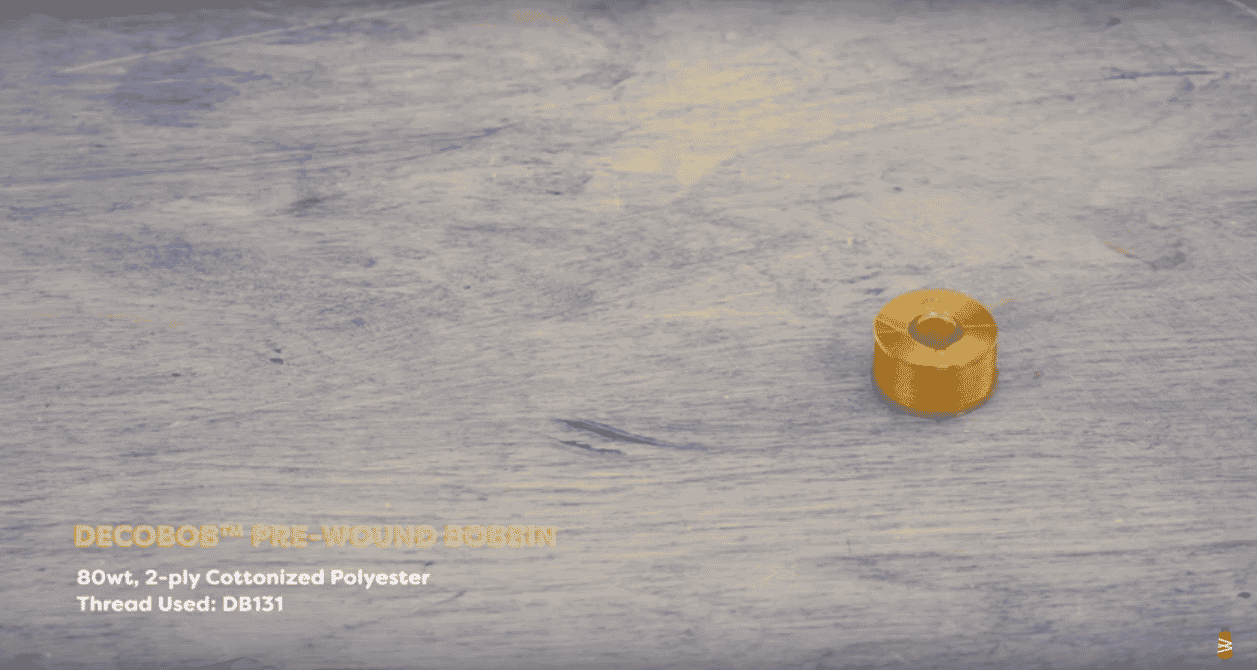
Next we are going to thread the machine with our wool thread. Since it is a thicker thread we recommend using a lighter weight thread in the bobbin such as a DecoBob pre-wound, which you can get here
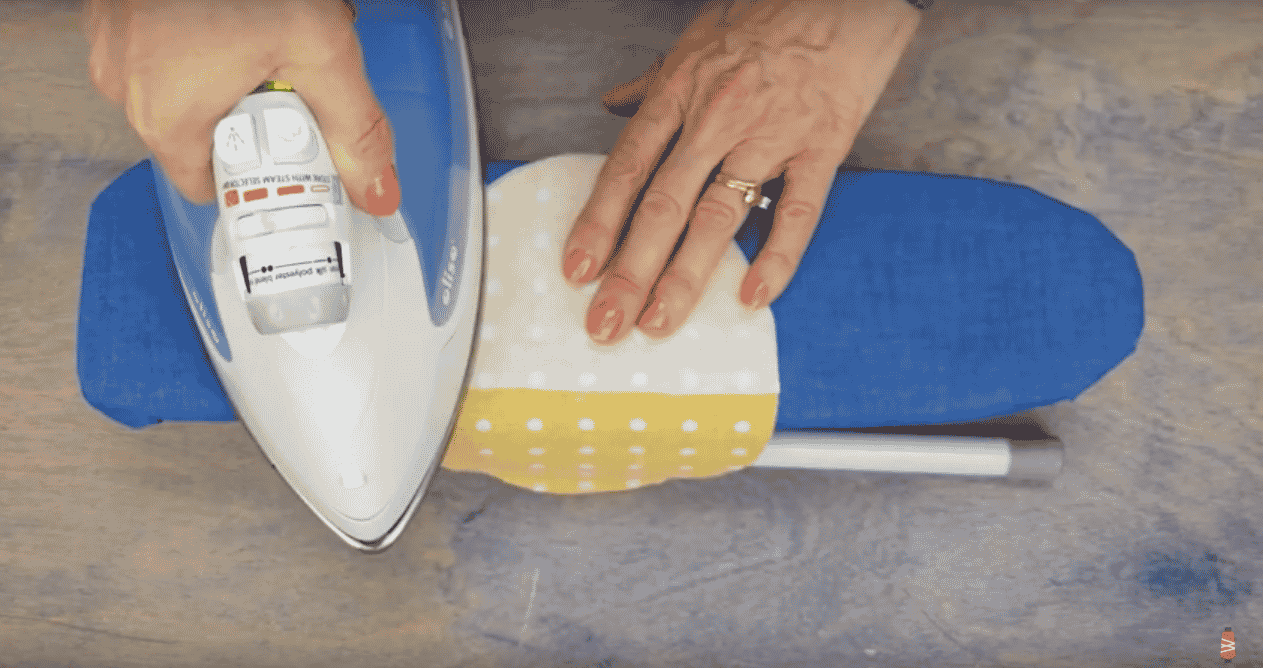
We decided to apply some tear away stabilizer onto the back of the area we are doing the applique on, just to give it a bit more structure and support.
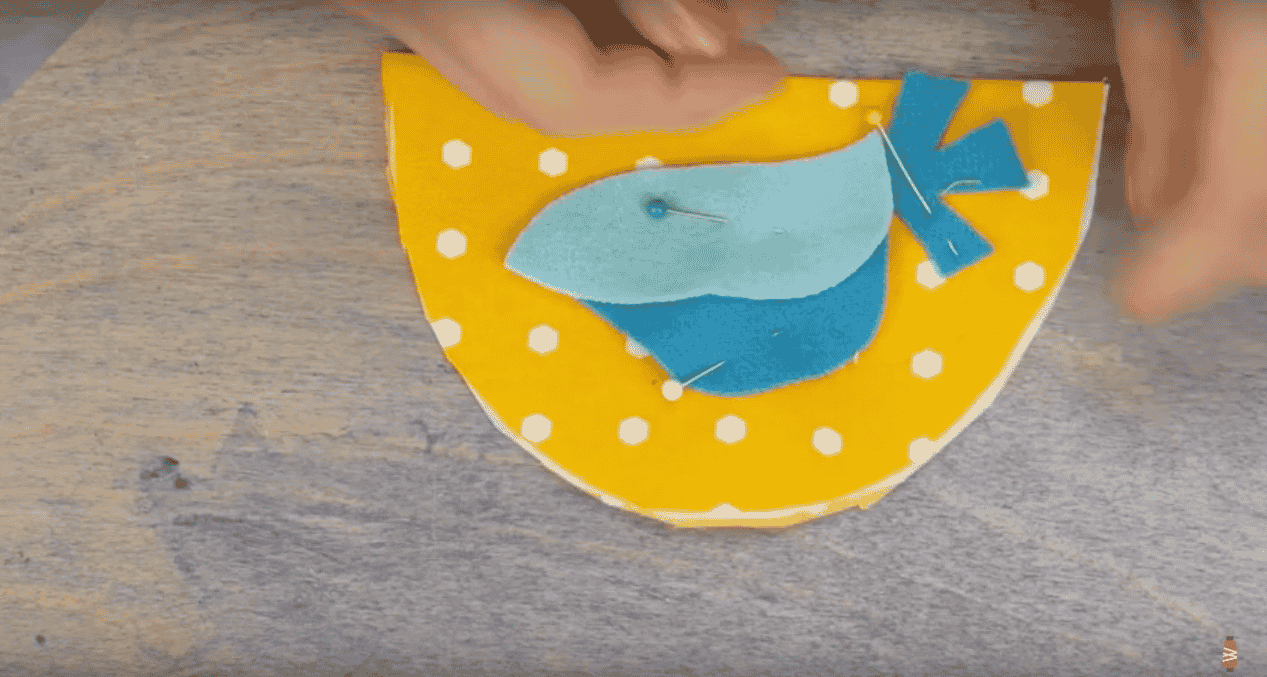 Next we have pinned the main part of the design down to sew, and will continue with the details a bit later. Make sure when you pin/ sew you are only catching one layer of the fabric and the stabilizer and not sewing through the whole pocket folded in half. We want to be able to open it up to a full egg shape. Sewing this way will enclose the stitching on the wrong side of the pocket fabric.
On the machine we are using a straight stitch and stitching 1/8” inside of the edge of the wool.
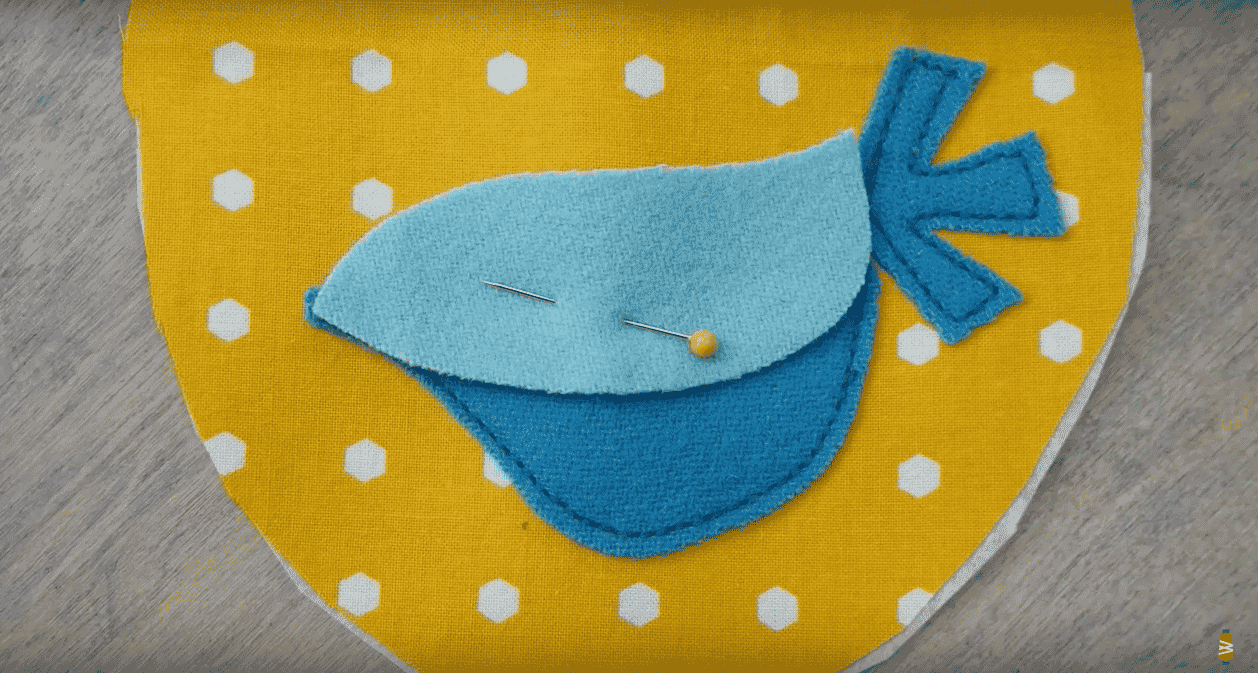
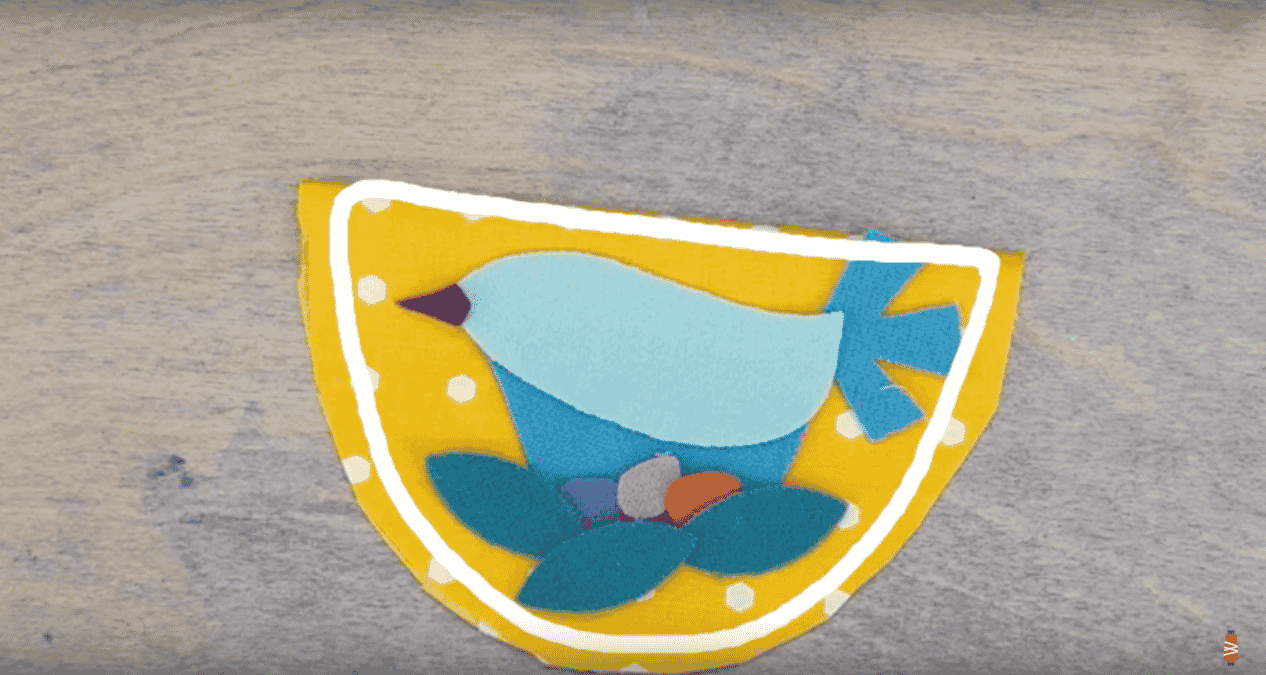
We hand appliqued the small details like the beak and eggs
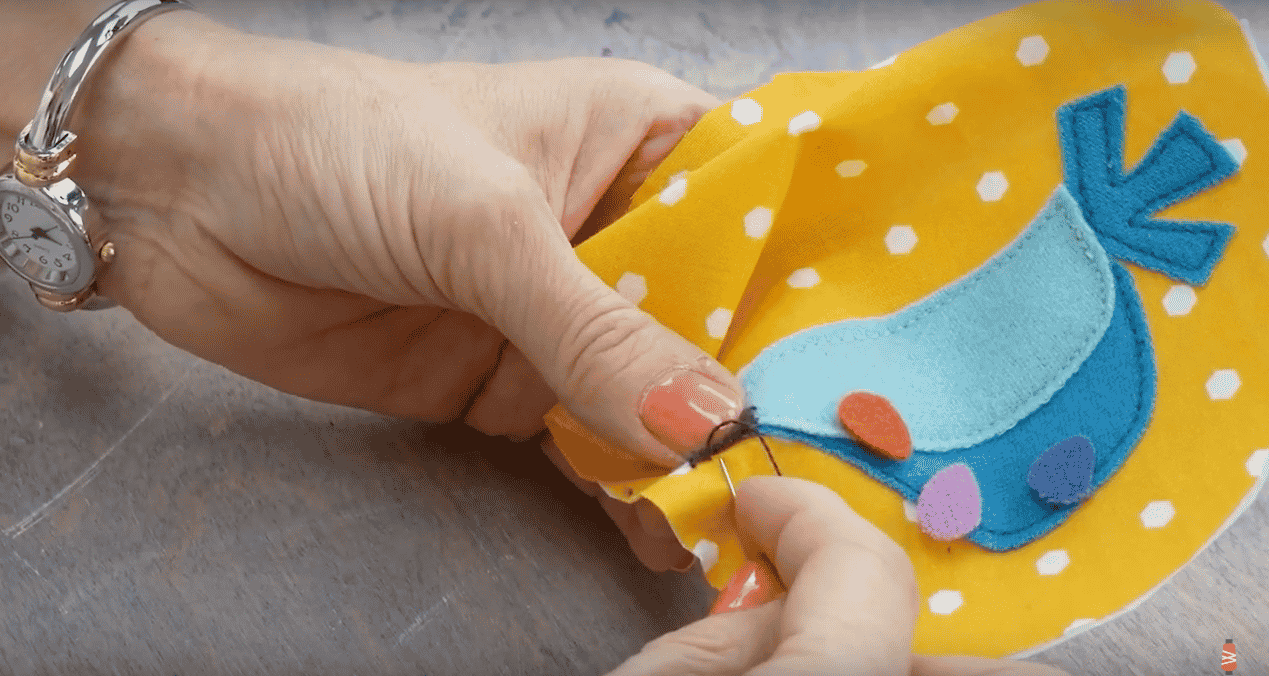
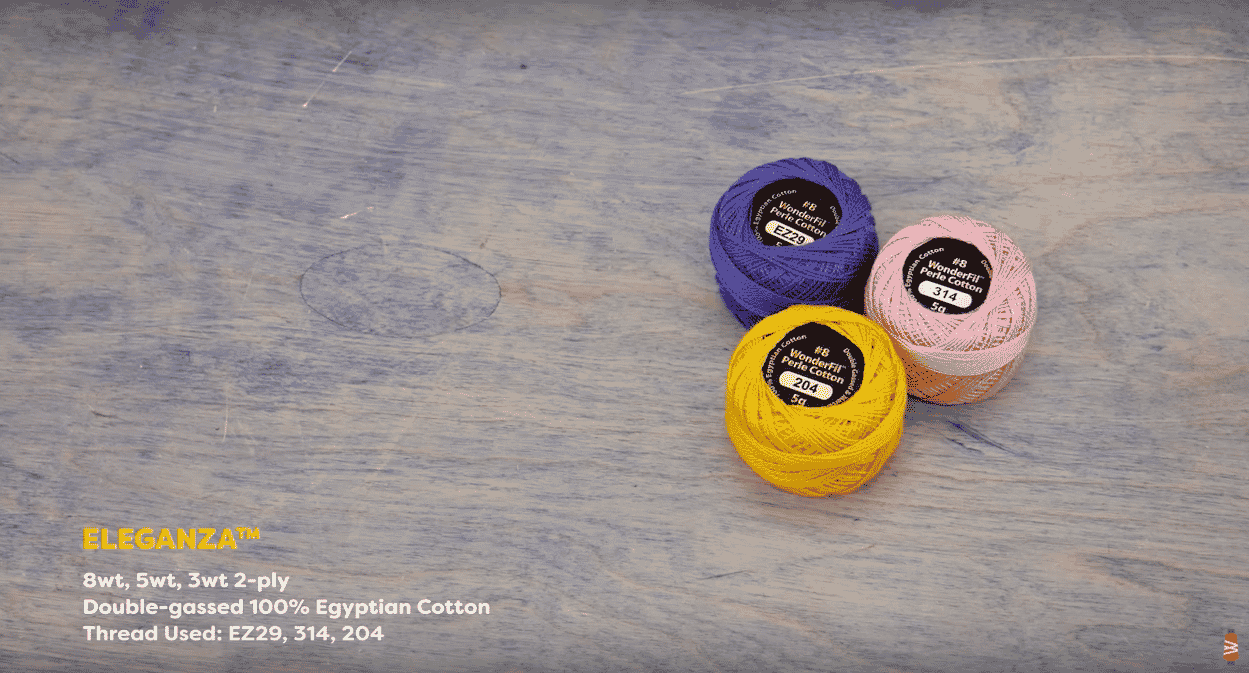
Once you have all of your pieces down then you can embellish however you would like. We used an 8-weight pearle cotton thread called Eleganza, which you can get here
You can do anything to decorate, like French knot, whip stitch, back stitch, etc. If you want any ideas for this you can watch our video on basic hand embroidery stitches here
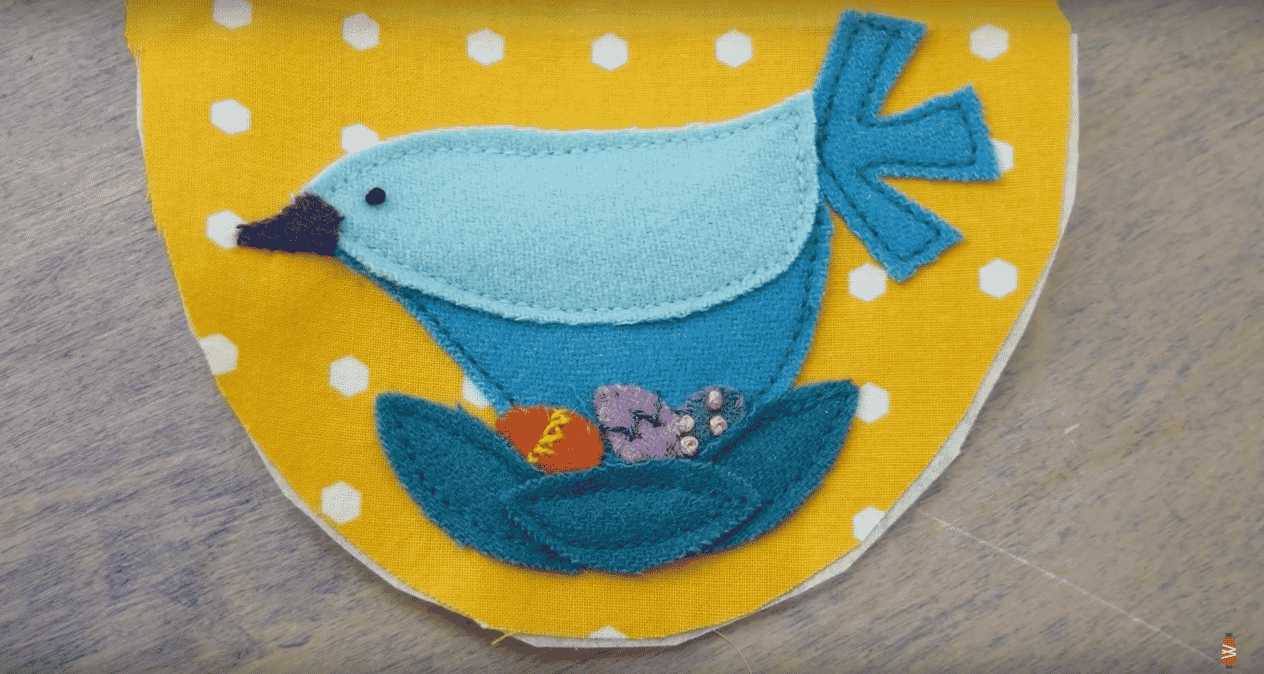
This is what ours looks like after adding some detail:
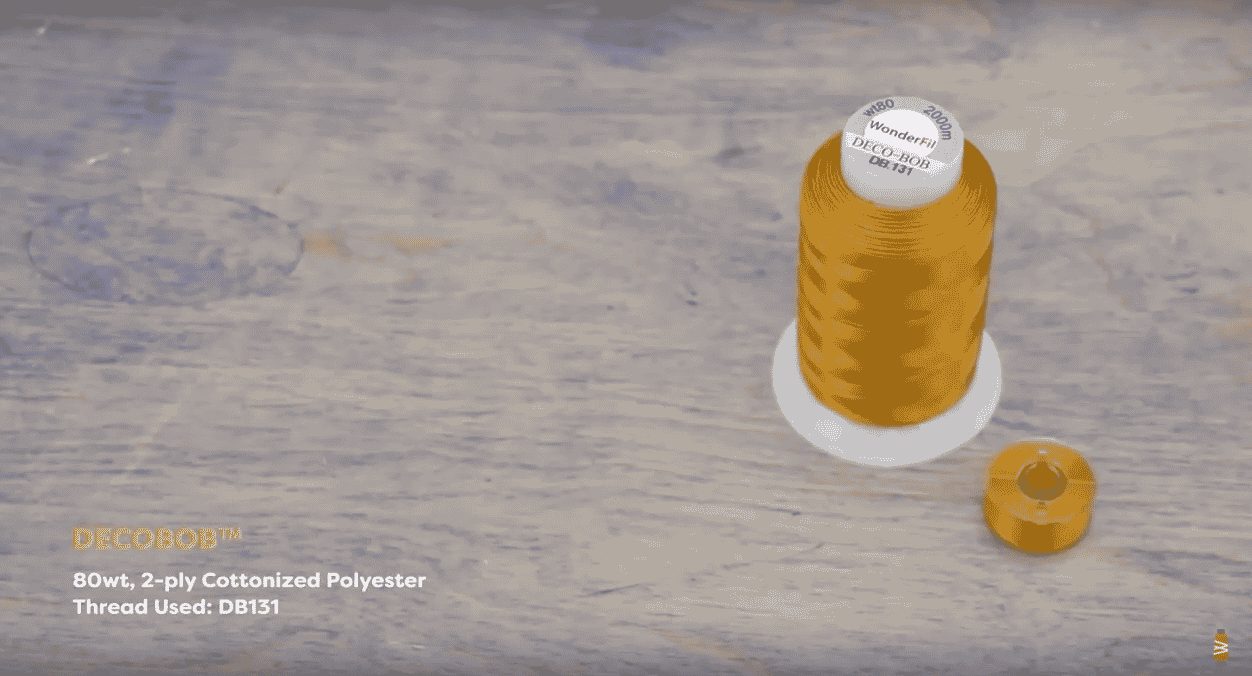 Once you are happy with your bird then you can start to sew the shapes together. We changed the thread in the machine to a lighter weight one to match the bobbin we put in earlier. We are now using DecoBob for the top and bobbin thread. You can get DecoBob here
To sew the pieces together you are going to place your pocket piece on the lower half one of the full egg pieces with the right side up as shown below:
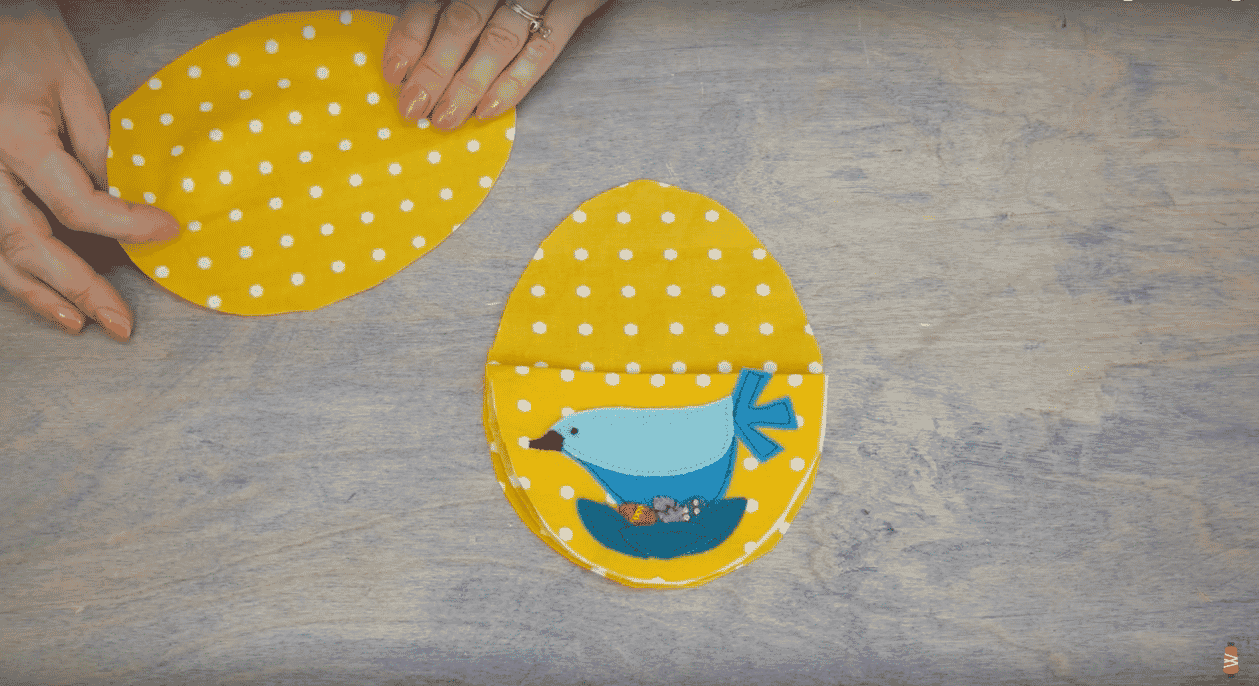
Next you want to place the other full egg shape with the right side facing the bird, enclosing the pocket inside. Pin around egg shape.
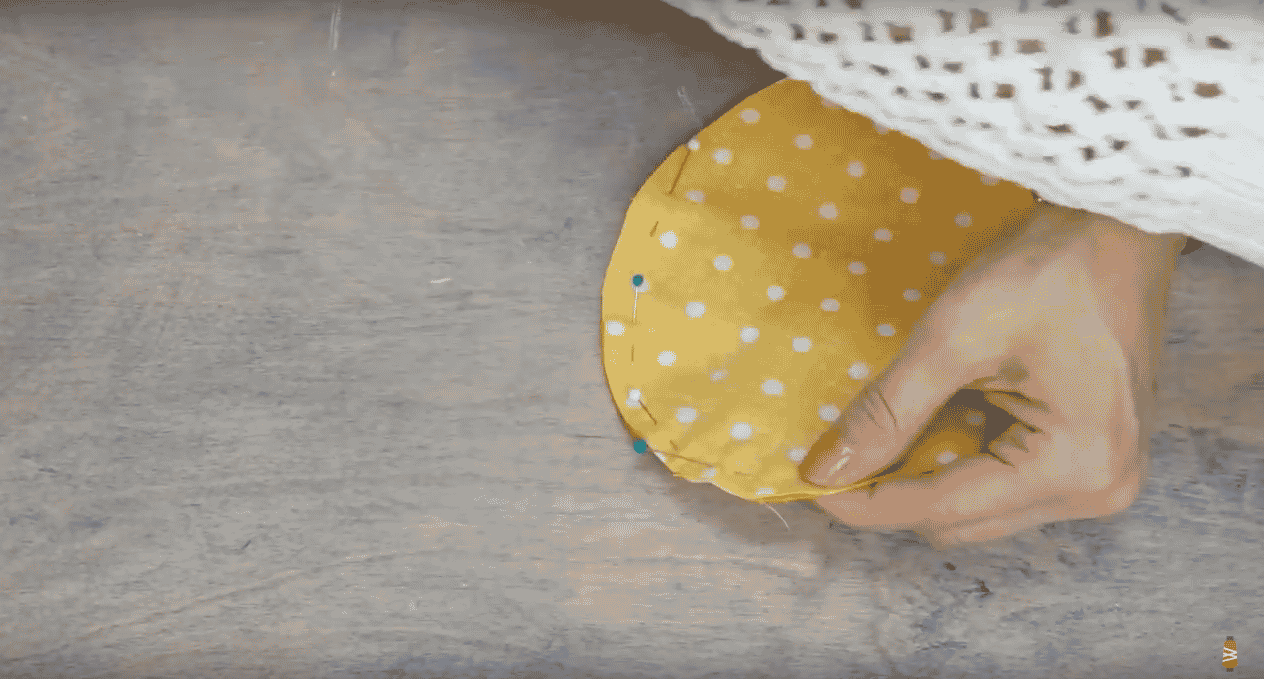
We are going to stitch this on our machine now. Stitch ½” from the raw edge to join all three pieces together. Stop your stitching 2” from your start point so we can turn it to the outside. Before turning it, trim seam allowances and clip notches around so that the curve can lie smooth.
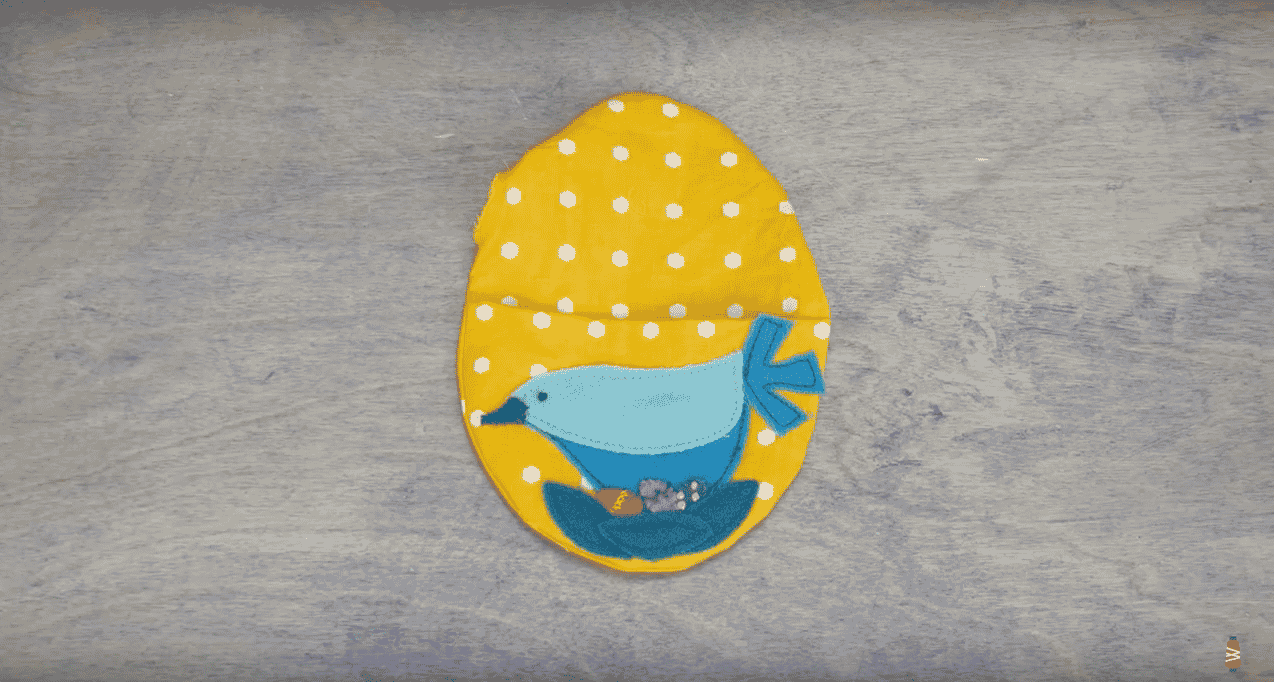
 Then you can turn it and it should look like the picture below. You can still see the hole that we pulled it through.
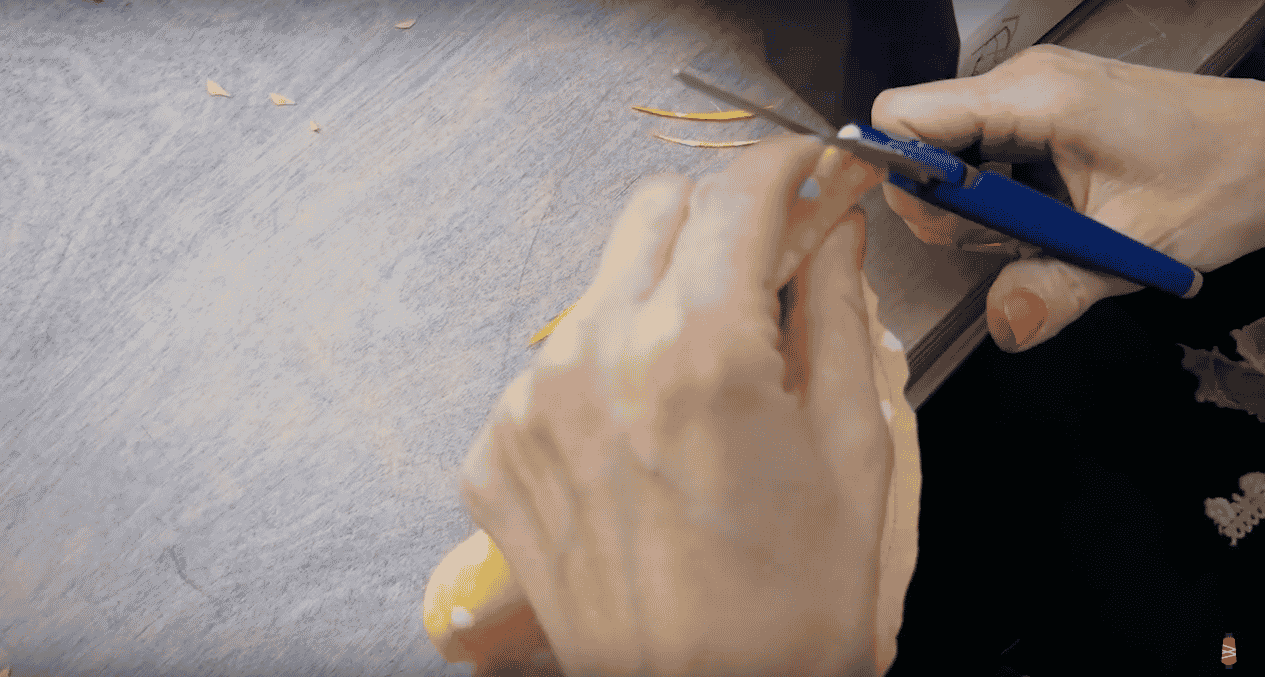
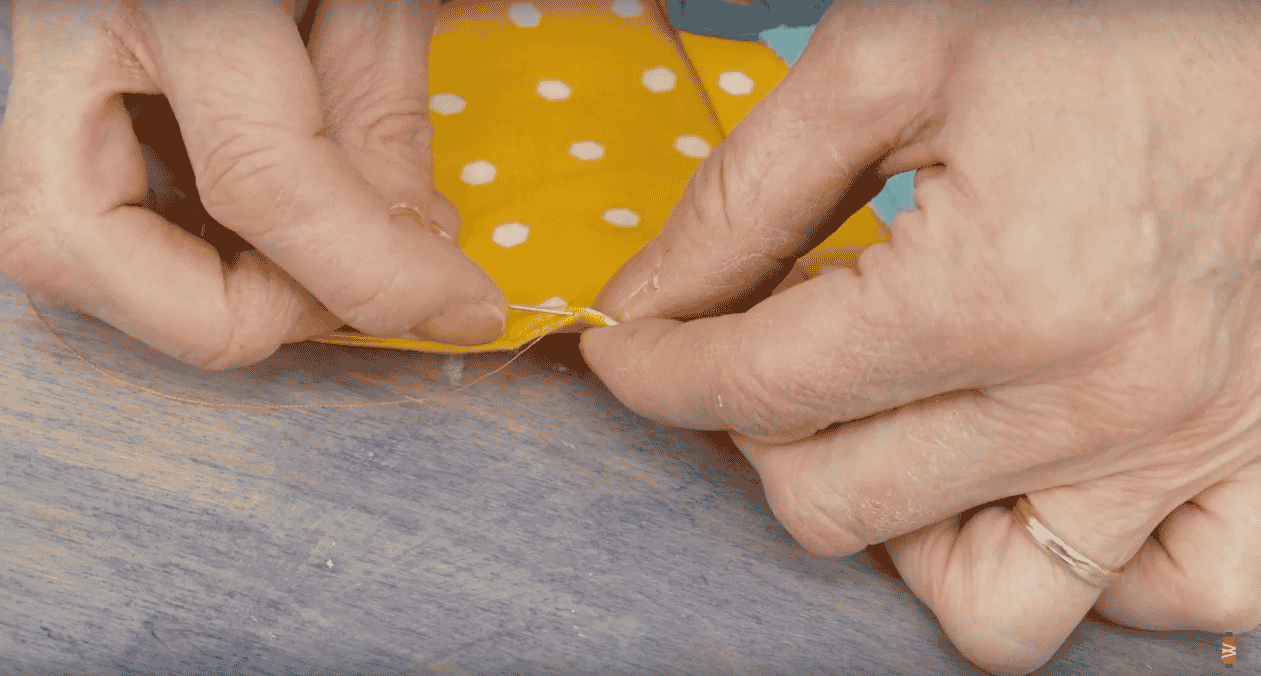
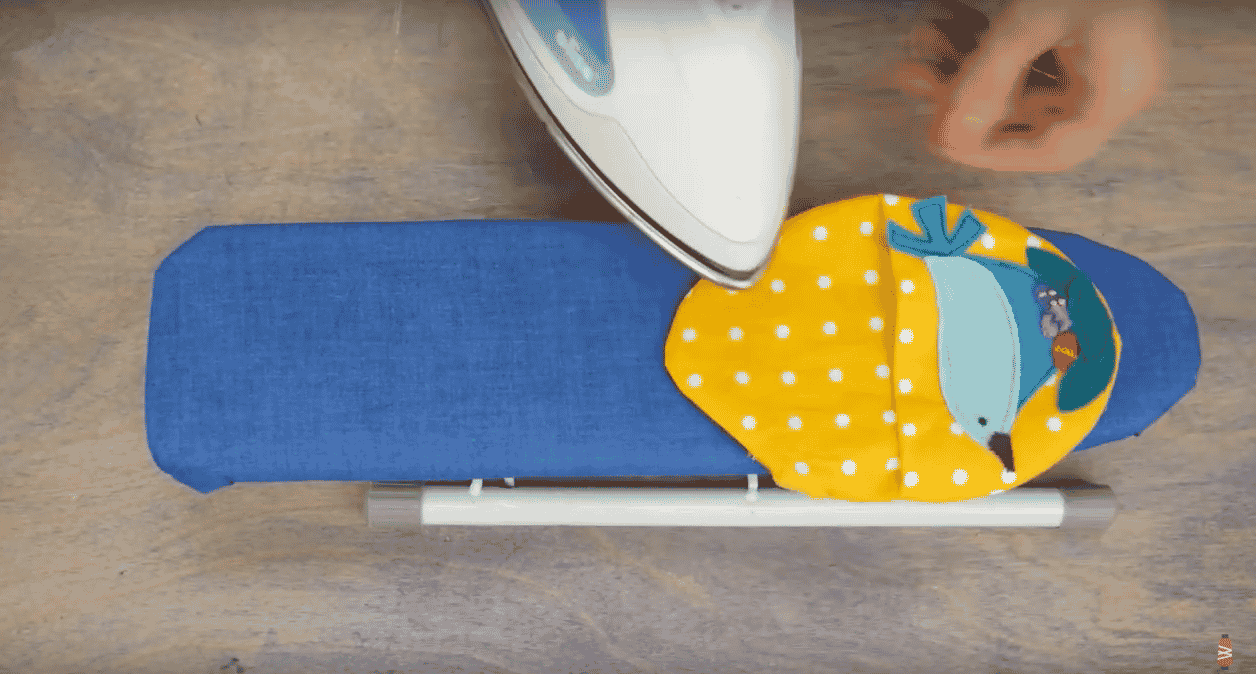
To clean it up a bit you just want to press the edges with an iron and then hand stitch the opening closed.
And there you have it! A simply adorable way to make spring come to your table. We hope that you enjoyed making this project! Everything is open to interpretation and we would love to see how yours turned out.